Lost Your Receipt? How to Recreate One Fast
Losing a receipt can be frustrating, especially when you need it for returns, reimbursements, warranty claims, or tax purposes. But you can quickly recreate one if you have the right details. Here's how:
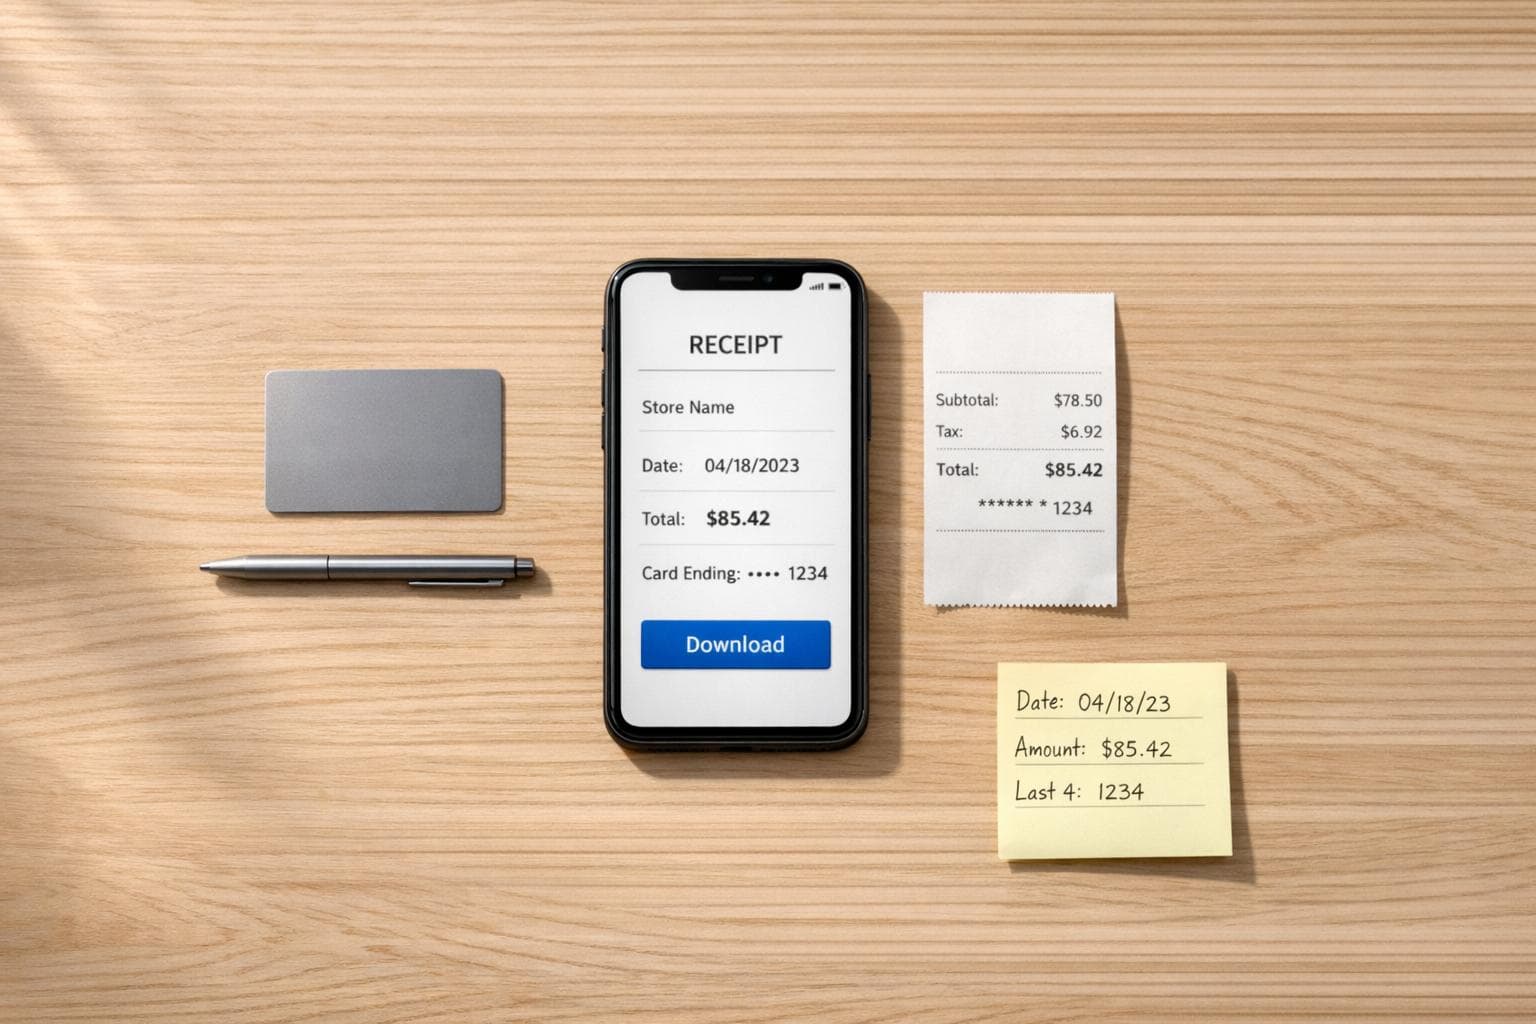
- Key Information to Gather: Business name, address, logo, transaction date/time, item descriptions, quantities, prices, payment method, and any transaction IDs.
- Where to Find Details: Check your bank or credit card statements, email inbox for digital receipts, or retailer apps for purchase histories. Customer service desks can also retrieve recent transactions.
- Recreation Tools: Use tools like Receipt Generator to input the details and create a professional receipt. Templates for major stores and services are available, and you can customize them to match the original.
Collecting the Information You Need
To recreate a receipt, you'll need to gather specific details. Having complete and accurate information ensures the receipt looks professional and matches the original transaction. Most receipts include merchant details, transaction specifics, and payment information.
Required Receipt Details
A proper receipt includes several key elements. Start with the business information - this typically includes the merchant's name, address, phone number, and email. Adding the company logo can give the receipt a polished, professional touch.
For the transaction, you'll need the date (formatted as MM/DD/YYYY) and the time of purchase. Every item should have a clear description along with quantities and unit prices. Be sure to calculate the subtotal, applicable tax, and the final total. For payment, note the method used (cash, credit, debit, or digital) and, if a card was used, include the last four digits. Including a receipt number or transaction ID adds an extra layer of authenticity.
| Category | Essential Details to Collect |
|---|---|
| Merchant Info | Business name, address, phone number, logo |
| Timing | Transaction date (MM/DD/YYYY) and approximate time |
| Items | Item descriptions, quantities, unit prices |
| Totals | Subtotal, tax rate/amount, discounts, grand total |
| Payment | Payment method (e.g., Visa, Cash), last 4 digits of card |
| Verification | Receipt/Transaction number, store number, register number |
Once you’ve gathered these details, cross-check them with your financial records to ensure accuracy.
Finding Information from Your Records
Your financial records are a great place to start. Bank or credit card statements can confirm the merchant's name, the exact date, and the total amount charged. This information forms the foundation for recreating your receipt.
Check your email inbox for automated receipts or order confirmations. Use search terms like "receipt", "order confirmation", or the retailer's name. Don’t forget to check your spam or promotional folders - receipts often end up there. Many large retailers, including Target, Walmart, Best Buy, and Home Depot, store purchase histories in their mobile apps for up to 24 months.
If the purchase was recent, visit the store’s customer service desk. With a payment card and a valid ID, staff can often retrieve transactions from the past 30–90 days. For tax calculations, look up the sales tax rate for the city or state where the purchase occurred. This can help you calculate the tax amount by working backward from the total. Some retailers even maintain searchable transaction records for longer periods, especially for high-value items.
"A bank statement proves you paid. It doesn't show what you bought. Its real power is in confirming the 'when,' 'where,' and 'how much' of a transaction." - receiptmakr.com
After confirming all the details, you can use Receipt Generator to recreate your receipt with confidence.
sbb-itb-2232899
How Receipt Generator Works
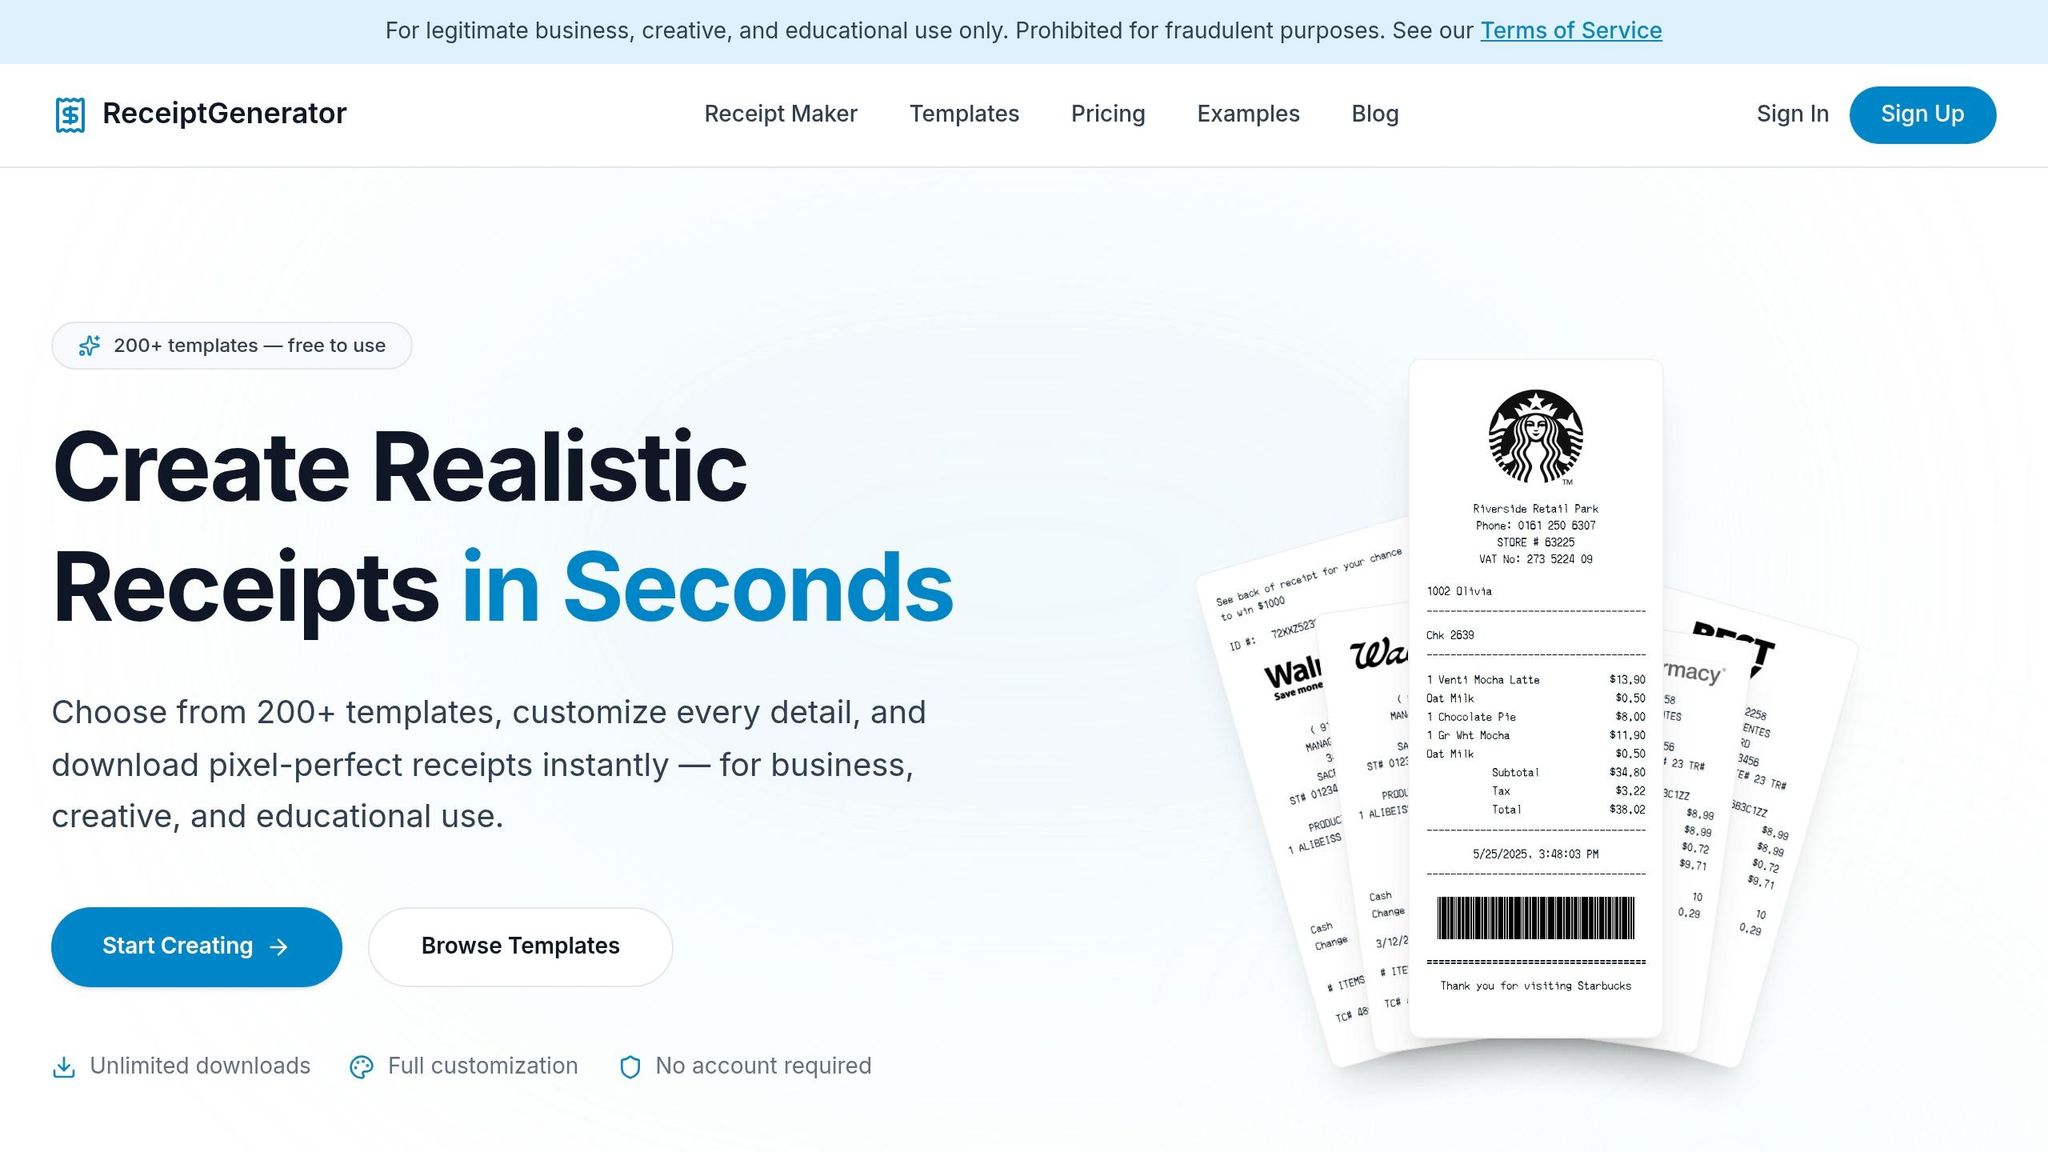
When you need to recreate a receipt, speed and precision are essential. Receipt Generator is an online tool that delivers on both fronts. It allows you to recreate lost receipts directly in your browser - no downloads or accounts required. Just pick a template, fill in the transaction details, customize the layout, and download your receipt in seconds.
With over 1.5 million receipts generated for 10,000+ users, this tool has become a go-to solution for individuals and small businesses alike. Whether you're replacing a grocery receipt for expense reporting or a restaurant bill for reimbursement, Receipt Generator offers layouts tailored to various receipt types.
Main Features
Receipt Generator provides access to 190+ professionally designed templates that replicate receipts from popular US retailers and service providers. These include stores like Walmart, Target, Best Buy, and Home Depot, as well as restaurants such as Starbucks, McDonald’s, and Chipotle. Each template is carefully designed to match the formatting of real receipts.
The platform’s drag-and-drop editor lets you customize every detail, including:
- Business names, addresses, and phone numbers
- Line items, quantities, and unit prices
- Payment methods and tax rates
It even calculates subtotals, taxes, and grand totals automatically, so you don’t have to worry about math errors.
To enhance authenticity, the tool offers thermal-style fonts that mimic the look of receipts printed by point-of-sale systems. You can add realistic effects like thermal-paper textures, faded text, and receipt-roll shadows. For added credibility, users can upload custom logos in PNG, JPG, or SVG formats and generate barcodes.
Once your receipt is ready, download it instantly in high-resolution formats like PDF, PNG, or JPEG - perfect for printing or digital storage. The platform also prioritizes security, using 256-bit SSL encryption and ensuring no receipt data is stored on its servers.
Benefits for Users
The tool’s simplicity means you don’t need technical expertise to use it. Most users can create a complete receipt in under one minute, saving significant time compared to manual methods, which can take 5–10 minutes.
Receipt Generator’s thermal-style fonts offer over 50 options, designed to match the output of various merchant systems. This ensures your recreated receipt closely resembles the original.
"The thermal paper texture and real store receipt templates make our scenes look 100% authentic. Way better than any fake receipt generator we tried before." – James T., Film producer
The platform offers a free plan that includes access to all 190+ templates and the full editor, with free downloads featuring a watermark. For those who need more, the Pro plan removes the watermark and allows users to save receipts and create custom templates for future use.
"I use the free receipt templates to issue payment receipts to my customers. PDF download is perfect for record keeping - and it's actually free!" – Maria L., Small business owner
With 99.9% uptime, Receipt Generator is reliable and always ready when you need it. It works seamlessly on both desktop and mobile browsers, with no app installation required. This accessibility and dependability make it an essential tool for quickly recreating receipts.
How to Recreate a Receipt with Receipt Generator
4 Steps to Recreate a Lost Receipt Using Receipt Generator
If you’ve got the details of a receipt you need to recreate, the first step is picking the right template.
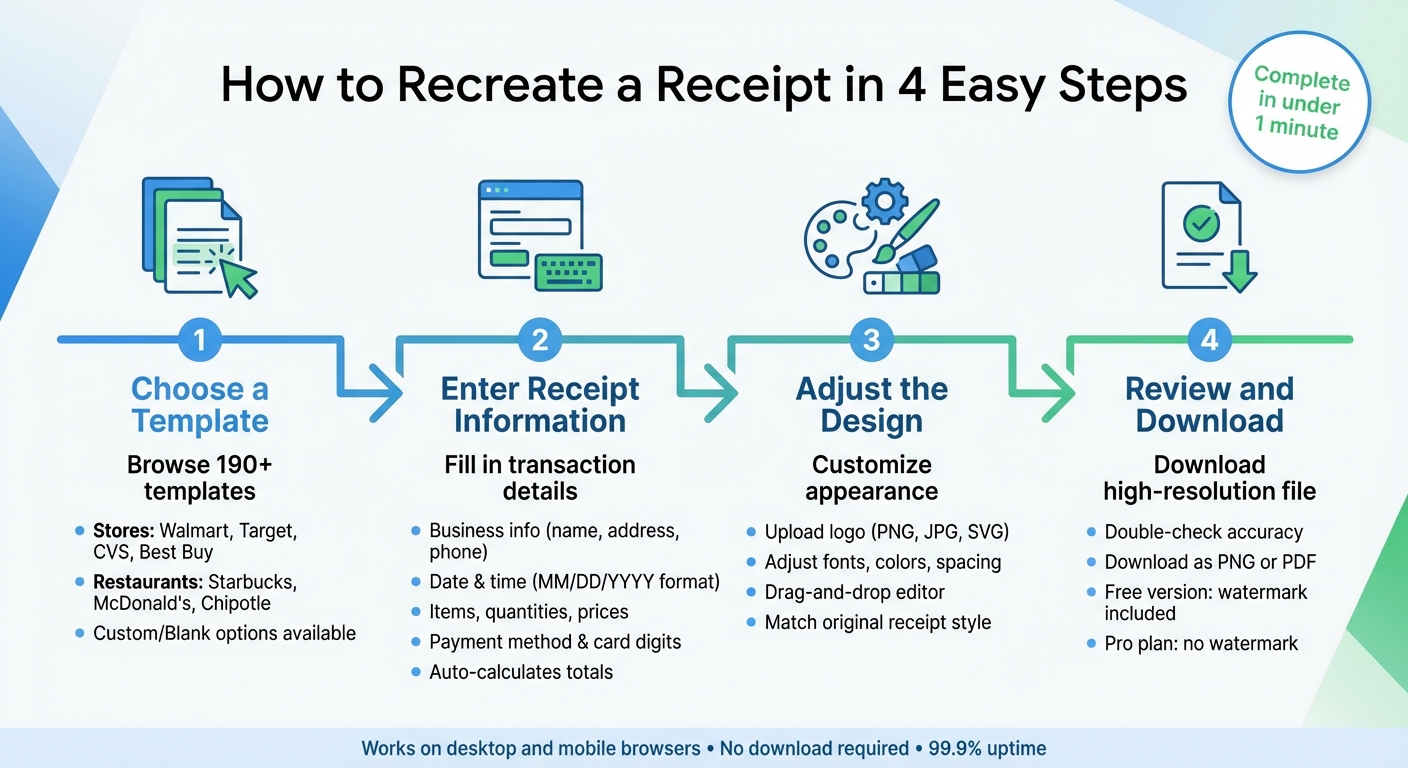
Step 1: Choose a Template
Head to Receipt Generator and browse through over 190 templates. These templates cover popular stores like Walmart, Target, CVS, and Best Buy, as well as restaurants such as Starbucks, McDonald's, and Chipotle. Each template is designed to closely mimic the actual formatting and layout of receipts from these businesses.
If you’re looking for a specific store and can’t find an exact match, you can opt for a "Custom" or "Blank" template. These options let you tweak the layout by adding or removing sections to fit your needs. Make sure the template aligns with the type of receipt you’re recreating - retail receipts typically need itemized details, while service receipts might only require a brief description and a total.
Step 2: Enter Receipt Information
Begin by filling in the business details, like the store name, address, phone number, and email. Then, add the transaction details, such as the date and time of purchase, using the MM/DD/YYYY format.
Input all transaction specifics based on your records. Include descriptions, quantities, and unit prices in $XX.XX format. The platform will automatically calculate subtotals, taxes, and the grand total for you. Select the payment method (cash, credit card, or check), and if applicable, include details like the last four digits of the card used.
Assign a unique receipt number (e.g., 001, 002, 003) for easier tracking. When describing items or services, be specific - use terms like "2-hour plumbing repair" instead of vague descriptions to ensure clarity and accuracy.
Step 3: Adjust the Design
Use the drag-and-drop editor to fine-tune the design so it matches the original receipt. You can upload a logo (PNG, JPG, or SVG) to add a professional touch. Adjust fonts, colors, spacing, and alignment to replicate the original receipt’s style.
Once you’re satisfied with the design, it’s time to move on to the final review.
Step 4: Review and Download
Double-check all the details for accuracy. Look out for typos, missing items, or formatting issues. Make sure the financial calculations are correct and the layout meets your expectations.
When everything looks good, download the receipt as a high-resolution PNG or PDF. Keep in mind that the free version includes a watermark, while upgrading to the Pro plan removes it and lets you save receipts for future use. Once downloaded, your receipt is ready for printing or digital storage.
Making Your Receipt Look Accurate
After downloading your recreated receipt, it’s time to polish the details to ensure it looks professional and accurate.
Use US Formatting Standards
Stick to standard US formatting for a polished look. Use the dollar sign ($) and format amounts with commas for thousands and periods for decimals (e.g., $1,234.56). Dates should follow the MM/DD/YYYY format, and transaction times should use the 12-hour clock with AM/PM.
Sales tax needs its own line - don’t combine it with the total. If you’re unsure about the tax rate, look up the specific percentage for the city where the purchase occurred. This ensures your subtotal, tax, and total add up correctly. Remember, the IRS suggests keeping receipts for at least three years from the date you file the related tax return.
Once you’ve nailed the formatting, you can focus on refining the receipt’s design.
Add Finishing Touches
The small details make all the difference. Use a monospace font and apply a thermal paper texture to mimic the appearance of standard retail receipts. For card transactions, display only the last four digits of the card number to comply with privacy regulations and protect customer data.
To make your receipt even more professional, you can include a barcode, a signature line, or a footer with a return policy. For digital receipts, adding clickable links to customer support or return policies is a nice touch. Assign a unique receipt number, using sequential numbering (like 001, 002, 003), to keep your records organized and avoid raising flags during audits.
Once the design is finalized, you’re ready to print and save your receipt.
Printing and Saving Your Receipt
If you’re printing a physical copy, configure your printer for an 80mm thermal printer. Use Print Preview to catch any formatting issues before hitting print. Adjust your browser’s print margins to "None" or "Minimum" and start with 100% scaling. If text gets cut off, reduce the scaling slightly to 95%.
"A polished digital preview is the secret to getting the perfect printed receipt on the first try, saving you time, ink, and paper." - ReceiptMake
For digital records, export the receipt as a high-resolution PDF to ensure consistency. Since thermal paper fades over time, keeping digital copies is crucial for long-term documentation like warranties or tax records. Organize these PDFs in cloud folders by year, such as "Receipts/2026". This method not only protects against lost or faded physical receipts but also keeps your records easily accessible for returns, expense reports, or taxes.
Conclusion
Misplacing a receipt doesn’t have to cause headaches for returns, reimbursements, or tax purposes. With Receipt Generator, you can recreate a polished, professional receipt in just a couple of minutes. The platform features customizable templates designed to look authentic, complete with thermal paper styling and proper US formatting.
Here’s how it works: Gather your transaction details, choose a template that matches your needs, input the information, and download a high-resolution PDF or PNG. Whether you’re filing an expense claim, replacing a warranty item, or simply staying on top of your financial records, Receipt Generator offers a quick, free, and browser-based solution to keep your documentation in order and your financial health on track.
FAQs
Is it legal to recreate a lost receipt?
Recreating a lost receipt is typically allowed when done for personal, business, or other legitimate reasons. However, using a recreated receipt to deceive others or engage in fraud is strictly against the law. Always make sure the recreated receipt reflects the original transaction accurately and adheres to any relevant legal requirements.
What if I can’t remember the exact items I bought?
If you can’t recall the exact details of a receipt, you have a couple of options. One approach is to create a generic receipt using online tools or templates. You can customize important details such as the vendor name, date, and total amount, even if you don’t have the specific items listed. Another option is to fill out a lost receipt form, including essential information like the date, amount, vendor, and an explanation for why the receipt was lost. These methods can help you document your purchase when itemized details aren’t available.
Will a recreated receipt work for returns or reimbursements?
Recreated receipts can sometimes be used for returns or reimbursements, but whether they’re accepted depends entirely on the policies of the retailer or organization involved. A proper receipt should contain essential details, such as the date of purchase, amount paid, vendor name, and a description of the item or service.
While a carefully recreated receipt might work for reimbursement purposes, many retailers or companies - especially those handling returns or warranty claims - may insist on an original receipt. To avoid complications, it’s always a good idea to check with the specific entity beforehand to ensure a recreated receipt will be acceptable.