How to Make a Fake Receipt in 5 Easy Steps
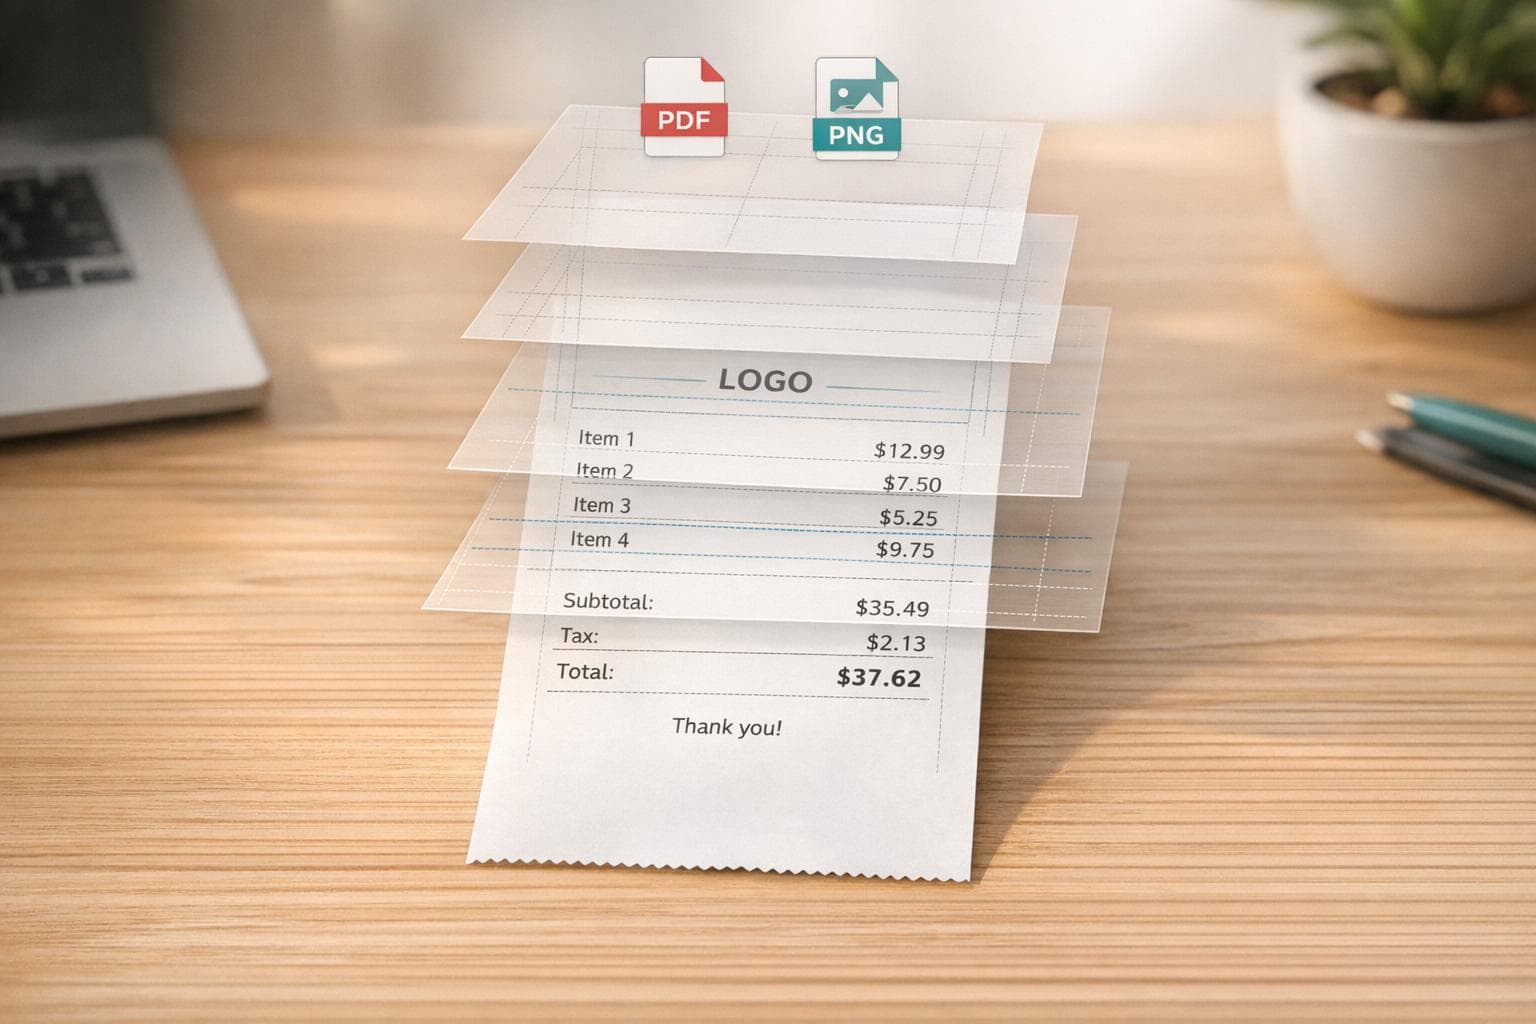
Need a replacement receipt or a custom proof of purchase? Here's a quick guide to creating one using Receipt Generator. Whether it's for personal records, digitizing old receipts, or creative projects, this tool simplifies the process in five straightforward steps:
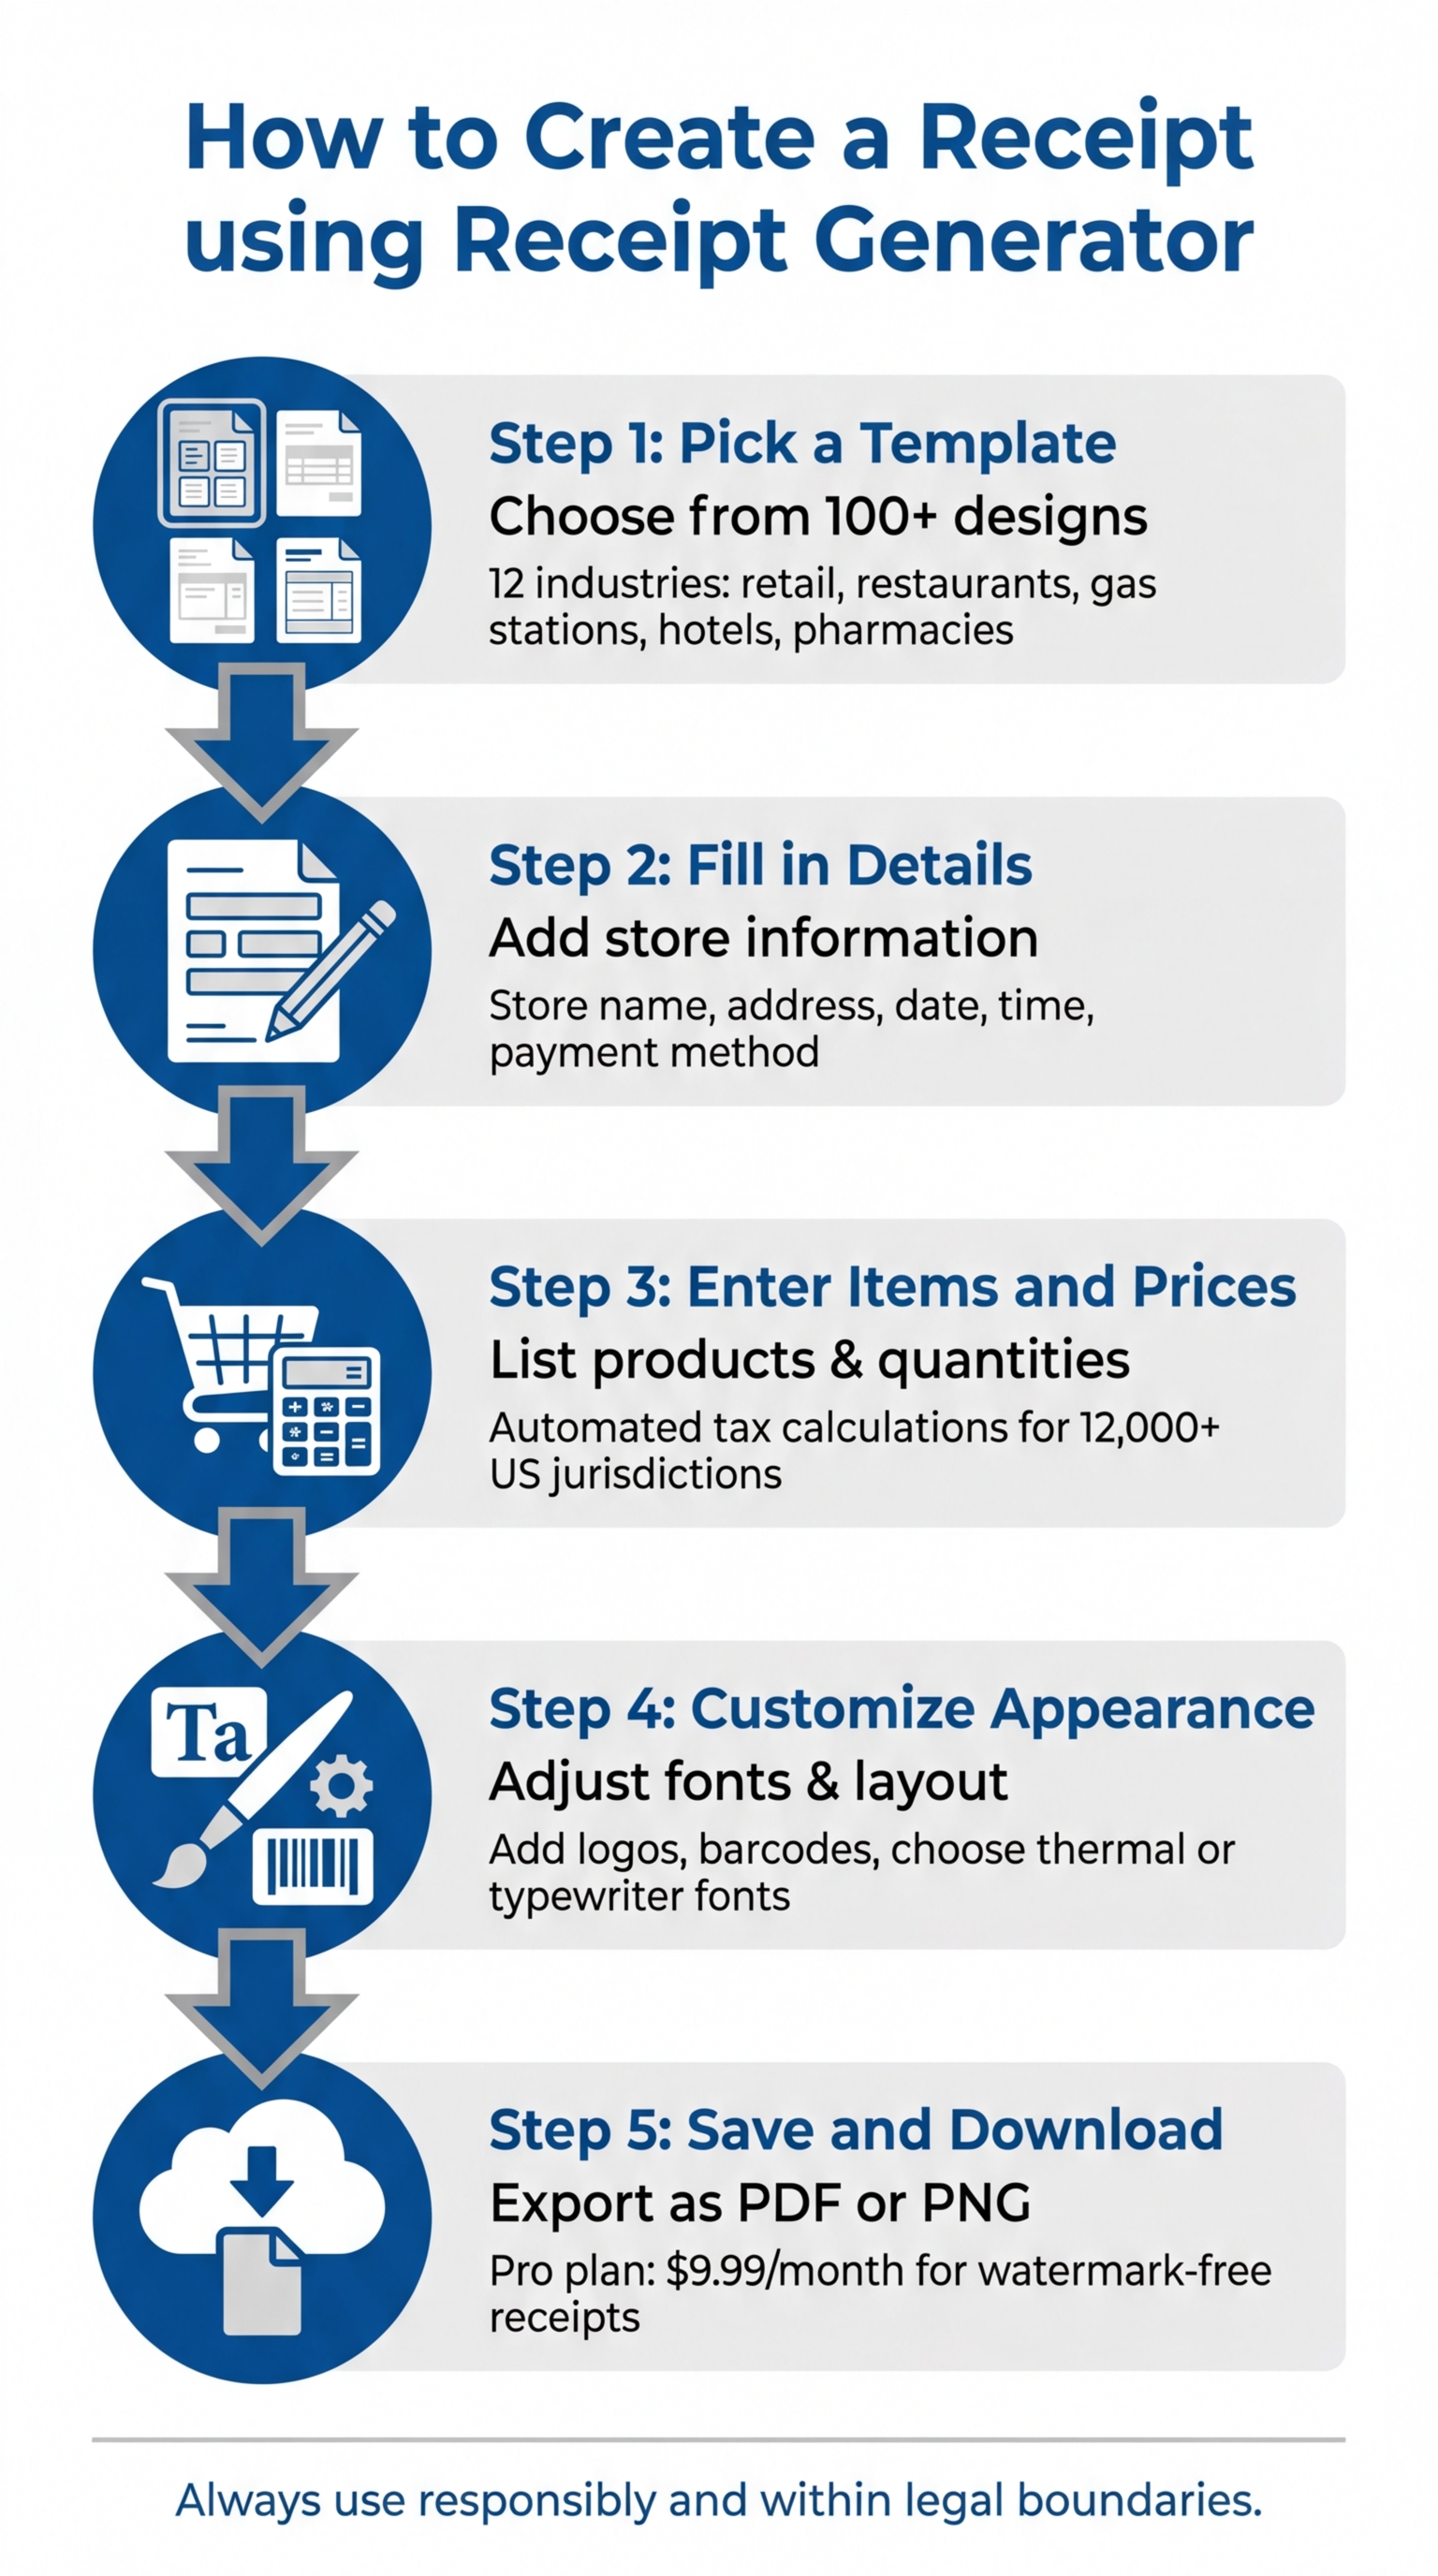
- Pick a Template: Choose from over 200 designs tailored for industries like retail, restaurants, gas stations, and more.
- Fill in Details: Add store name, address, transaction date, and payment method.
- Enter Items and Prices: List products, quantities, and prices; tax calculations are automated.
- Customize Appearance: Adjust fonts, layout, and even add logos or barcodes.
- Save and Download: Export your receipt as a PDF or PNG for printing or sharing.
Important Note: Always use generated receipts responsibly and within legal boundaries. Misuse can lead to serious consequences, including fraud charges. For legitimate needs, this tool provides a simple way to create professional-looking records.
5 Steps to Create a Receipt Using Receipt Generator
Step 1: Create an Account and Pick a Template
Setting Up Your Receipt Generator Account
You can dive into creating receipts right away - no sign-up needed. Receipt Generator gives you access to its full range of templates and a live editor without requiring an email or phone number. This makes it a great option for quick tests or one-time use, while also prioritizing your privacy.
However, if you need receipts without watermarks, you’ll need to sign up for the Pro plan. It’s priced at $9.99 per month or available as a one-time purchase of $2.99 for five downloads. The Pro plan unlocks unlimited downloads, access to all templates, and the ability to save your receipts for future edits. If you’re creating receipts for professional use or official records, upgrading to a watermark-free option could be worth it.
The platform uses 256-bit SSL encryption and follows a Zero Data Storage policy. Payments for premium features are securely handled through Stripe. Once you’ve set up your account - or decided to proceed without one - you’re ready to pick a template that matches your needs.
Finding and Choosing Your Receipt Template
Once you’re set up, browse through a variety of categorized templates to find the one that suits your transaction type. Templates are grouped into 12 industries, including retail stores, restaurants, gas stations, pharmacies, hotels, and rideshare services. The designs are inspired by major retailers like Walmart, Target, Costco, CVS, and Best Buy, ensuring they align with industry-specific formats.
Choose a template that fits your receipt type and use the real-time preview to check the layout before downloading. For retail purchases, templates often include itemized lists with spaces for product descriptions, quantities, and unit prices. Restaurant templates feature options like gratuity lines and takeout indicators, while gas station receipts allow fields for fuel type and quantity.
The live preview feature is particularly helpful for ensuring your receipt looks just right. Users often praise the professional appearance of the receipts, enhanced by options like thermal and typewriter-style fonts.
sbb-itb-2232899
Step 2: Fill in Store and Receipt Information
Entering Store Name, Address, and Contact Details
Start by adding your business header with the exact legal name, complete address, phone number, and email. These details establish the receipt's identity and give it a professional appearance.
To make the receipt feel even more authentic, include specific identifiers like a store number or register ID. If you're replicating a receipt for a known business, use the exact branch address instead of generic details. For instance, if you're creating a receipt for a Target store, input the address of a specific Target location. Adding a company logo at the top can further reinforce the brand identity and enhance the receipt’s credibility.
Finish this section by including the transaction's date, time, and payment details, which are crucial for creating a complete and accurate record.
Setting Date, Time, and Transaction Details
After entering the store information, include the transaction date in the MM/DD/YYYY format and the time with AM/PM. For example, you might use 03/27/2026 for the date. These details are essential for maintaining an accurate timeline of the transaction.
Next, add a receipt number to serve as a tracking identifier. Use sequential numbering like 001, 002, 003 to keep things consistent. If you’re creating multiple receipts for the same business, ensure the numbers follow a logical sequence to avoid confusion.
Finally, specify the payment method (Cash, Credit Card, or Debit). For card transactions, include the card type (e.g., Visa, Mastercard), the last four digits of the card number, and an authorization code if needed. These details add a layer of authenticity and make the receipt comprehensive.
Step 3: Enter Products, Prices, and Tax Amounts
Adding Products and Item Descriptions
Create an itemized list by entering each product's quantity, unit price, and line total. The Receipt Generator will calculate the subtotal automatically as you add items.
It's important to use specific product names rather than generic ones. For example, in retail receipts, write something like "Wireless Mechanical Keyboard" instead of vague labels like "Item" or "Product." Similarly, for service-based receipts, provide clear details. Instead of writing "Service - $200", break it down as "Homepage Design: 15 hours @ $75/hour."
If you're including discounts, list them as separate negative line items (e.g., "-$50.00"). This approach mirrors real-world receipts and makes the pricing look more authentic. Once all items are entered, you can move on to calculating sales tax.
Adding Sales Tax Calculations
Accurate tax calculations are essential for creating a credible receipt. With over 12,000 sales tax jurisdictions in the U.S., rates can vary widely depending on the location. For instance, New York City’s combined tax rate is 8.875% (4.00% state + 4.875% local), while Los Angeles has a rate of 9.25% (7.25% state + 2.00% local).
To calculate sales tax, convert the rate into a decimal (e.g., 8.875% becomes 0.08875) and multiply it by the subtotal. The Receipt Generator simplifies this process by automatically calculating the tax once you input the correct rate for your location. Make sure to display the tax amount as a separate line item below the subtotal. This is standard practice for professional receipts and adds to their credibility.
Step 4: Adjust Fonts and Layout
Fine-tuning fonts and layout adds a layer of polish to your receipt, making it look more professional and realistic. These tweaks build on the details from earlier steps, ensuring the final product is visually accurate and convincing.
Changing Fonts and Text Appearance
The right font can make a huge difference in how authentic your receipt looks. Receipt Generator typically uses monospace fonts, which are great for aligning quantities and prices in neat, clear columns.
For retail or restaurant receipts, thermal printer fonts like OCR-A or Epson are ideal. If you’re working on an invoice or a service-based receipt, Courier offers a classic typewriter style that fits professional documents. You can pick fonts from a dropdown menu and preview the updates instantly.
You also have control over font size and boldness to suit the type of receipt you’re designing. Bold fonts, for example, work well when mimicking thermal printer outputs. If your receipt includes a logo, make sure to convert it to black and white and resize it to fit neatly in the header, matching the aesthetic of standard thermal printers.
Once the text style is finalized, you can move on to perfecting the overall layout.
Modifying Layout and Paper Texture
Pairing text adjustments with layout refinements brings the receipt design to life. Receipt Generator’s drag-and-drop editor allows you to rearrange sections to replicate typical receipt formats. For example, you can move the tax line, add a tip section for restaurant receipts, or shift the payment method details to match different business styles.
Another crucial step is adjusting the receipt width. Standard thermal paper sizes, such as 80mm or 58mm, are commonly used for receipts, and matching these dimensions adds to the authenticity. You can also include barcodes or QR codes at the bottom of the receipt for a more polished and professional look. Beyond this, you can tweak spacing, margins, and even paper textures to mimic the feel of real receipt paper.
Step 5: Save and Download Your Receipt
Make sure your receipt looks polished and professional before exporting it.
Checking Your Receipt Before Downloading
Take a moment to review everything. Double-check the item quantities, names, and prices. The system automatically calculates subtotals and applies tax rates, but it’s always a good idea to confirm those numbers align with your expectations.
Ensure the store name, address, and contact details are correct. If you’ve included a barcode or QR code, zoom in to verify that it’s sharp and scannable. Before exporting, consider adding any finishing details like the payment method (cash, credit, or digital), a customer signature, or a custom footer message. Keep footer text under 100 characters to avoid disrupting the layout. If you’re using the free plan, be aware that watermarks may appear. To remove them, you can upgrade to the Pro plan for $9.99/month for a cleaner, more professional result.
Once everything looks good, you’re ready to download your receipt.
Exporting Your Receipt File
Receipt Generator lets you save your receipt as either a PDF or a PNG file. PDFs are ideal for printing or archiving since they maintain the layout and resolution. PNG files, on the other hand, are great for clear, digital sharing.
Simply click the download button, choose your preferred format, and save the file. To keep things organized, consider creating folders by month, client, or transaction type. If you’re on the Pro plan, you can also save custom templates directly to your account, making it easy to reuse layouts without re-entering store details each time.
Conclusion
Summary of the 5 Steps
Creating a receipt is quick and straightforward. Just follow these steps: sign up, pick a template, input store and transaction details, add products with their prices, tweak fonts and layout to your liking, and then download the receipt as a PDF or PNG.
For better organization, use sequential numbering (like 001, 002, 003) to keep records clear and make bookkeeping easier. And remember, always use generated receipts responsibly and within the bounds of the law.
Using Receipt Generator Responsibly
Once you’ve mastered the technical side, it’s crucial to focus on ethical usage. Receipt generators are perfect for legitimate needs like personal record-keeping, replacing lost receipts for internal bookkeeping, or tracking small expenses like mileage or petty cash. Always ensure your actions comply with legal requirements.
Avoid any misuse of these tools. Using generated receipts for fraudulent purposes, tax evasion, or other illegal activities can result in severe consequences, including criminal charges, hefty fines, imprisonment, or even losing your job.
Instead, use the Receipt Generator to keep financial records organized and provide professional-looking proof of payment to customers. If you’re unsure about the legal guidelines in your area, reach out to a qualified tax professional or your local authorities for advice.
FAQs
When is it legal to use a generated receipt?
Using a generated receipt is perfectly fine when it's for legitimate purposes like keeping track of your expenses, maintaining personal records, or managing business transactions. However, using these receipts for dishonest reasons - like committing tax fraud or misleading others - is illegal and unethical. Always make sure your actions comply with the law and uphold ethical standards.
How do I find the correct sales tax rate for my receipt?
To figure out the right sales tax rate, you’ll need to check the rate based on your location and the type of transaction. In the U.S., sales tax rates differ from state to state and even between local areas. To get the most accurate information, visit your state’s department of revenue website or contact your local tax authority. When creating a receipt, make sure it reflects the correct tax amount for the specific location of the transaction to ensure it’s accurate and compliant.
How can I make the receipt look real without breaking any rules?
To create a receipt that looks authentic while staying within ethical and legal boundaries, use tools or templates designed to replicate the appearance of real receipts. Pay attention to important details, such as the store name, date in MM/DD/YYYY format, transaction specifics, and proper currency symbols like $. Including logos or branding can add a professional touch. Make sure item descriptions, prices, and totals are clear and accurate. Always use these techniques responsibly and only for legitimate purposes - never for anything fraudulent.