How To Create Realistic Apple's Receipt Photos
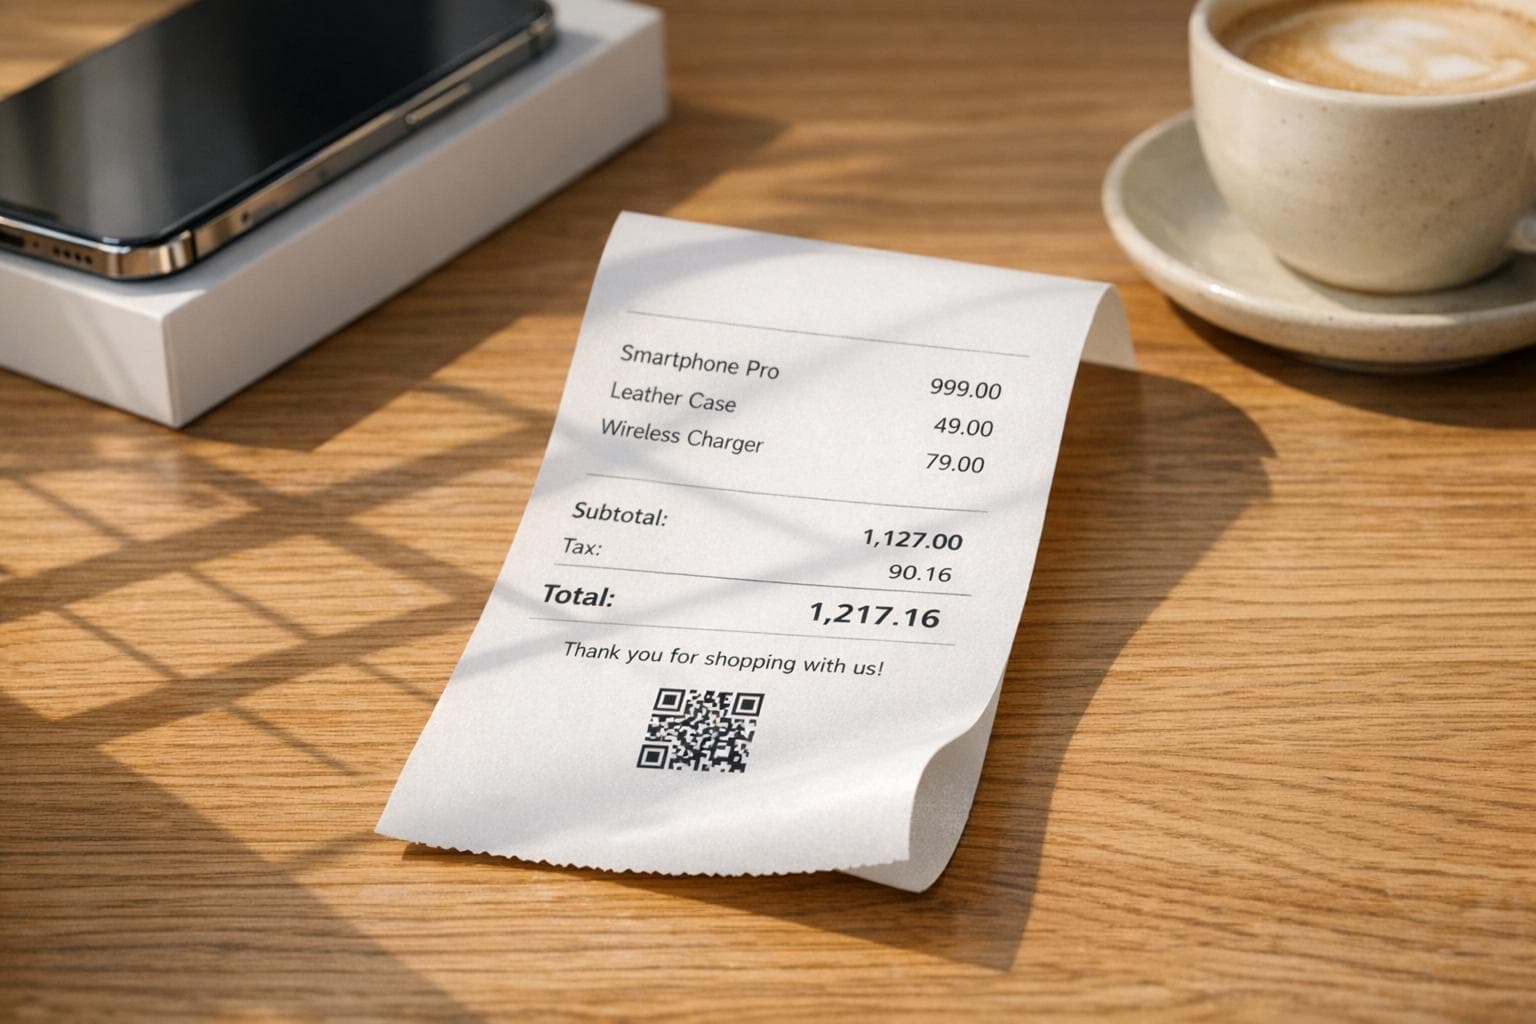
Creating a realistic Apple receipt photo can be useful for replacing lost receipts, backing up purchase records, or even for creative projects like film props. This guide explains how to:
- Digitally recreate Apple receipts using tools like Receipt Generator.
- Customize key details like product names, prices, and transaction IDs to match Apple’s format.
- Use AI tools to place the receipt into lifelike scenes, such as desks or wallets, for added realism.
- Ensure accuracy by matching Apple’s exact receipt layout, including tax rates, serial numbers, and time formats.
Important: These tools should only be used for legitimate purposes, like recovering lost documentation or creative projects. Misusing them for fraudulent claims is illegal and carries serious consequences. Always use responsibly.
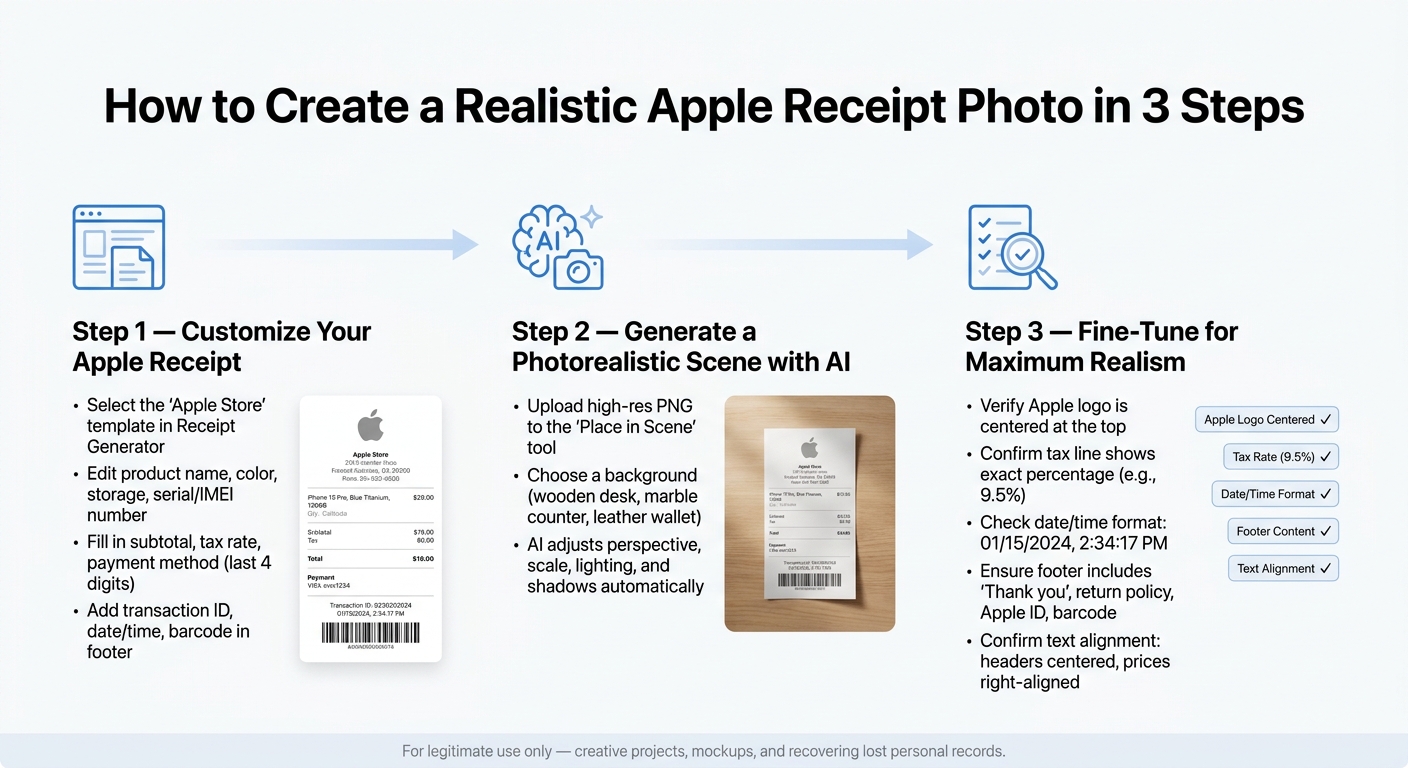
How to Create a Realistic Apple Receipt Photo: 3-Step Process
Step 1: Customizing Apple Receipts with Receipt Generator
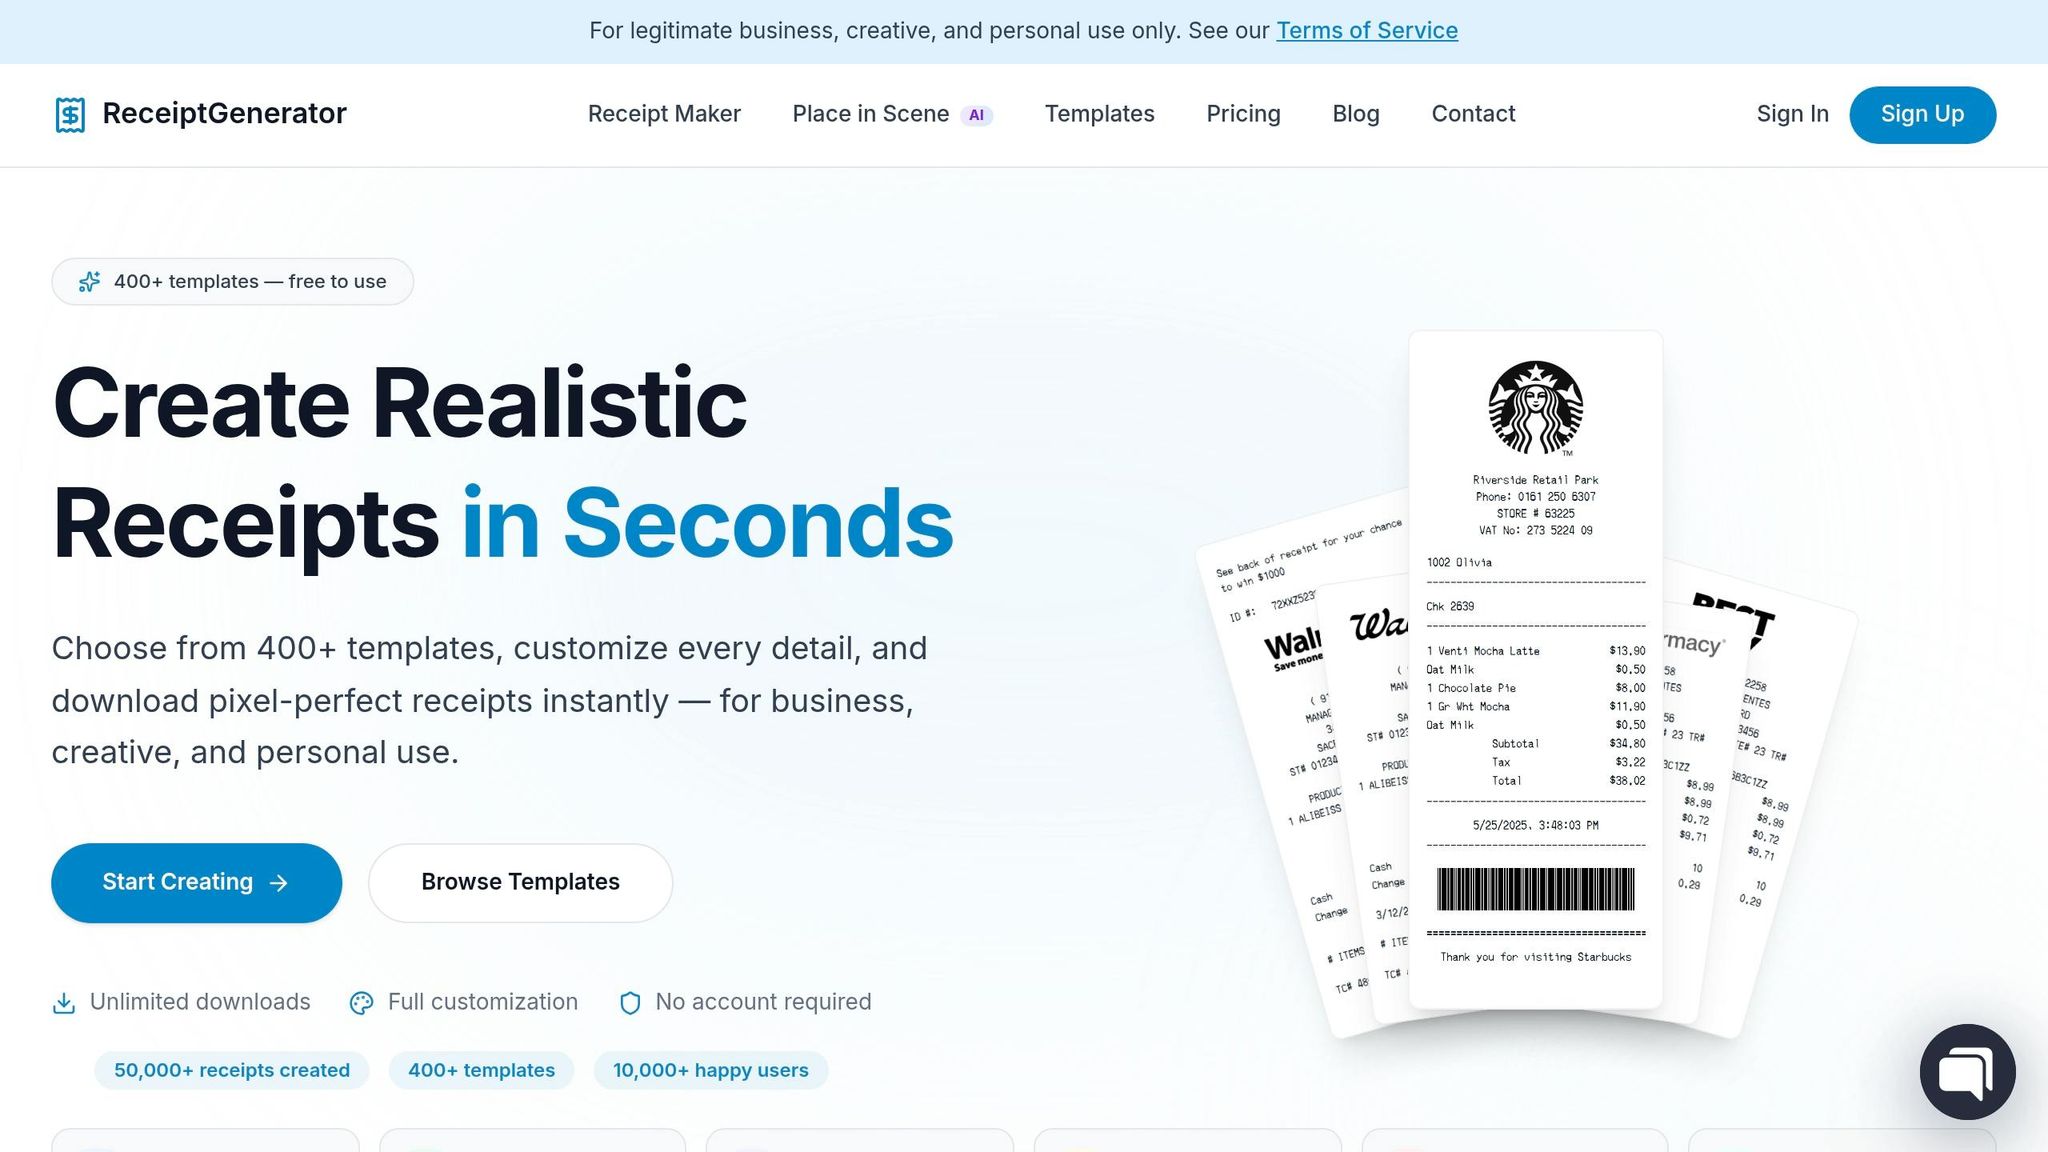
Receipt Generator makes it easy to create a realistic Apple receipt. You don’t need any design skills - just a browser and your receipt details.
Choosing an Apple Receipt Template
Start by searching the Receipt Generator's template library for the "Apple Store" template. This template includes Apple-specific fields like the Specialist name (the employee who helped you), the 4-digit store number, and a transaction number that usually begins with "R".
The template should have a clean, centered layout with the iconic Apple logo at the top, mimicking the format used in Apple’s 500+ retail locations worldwide. If the template lacks these identifiers, pick a different one to ensure accuracy.
Editing Receipt Details
Once the template is loaded, you can edit all the fields. To make it look authentic, include specific product details like the device color (e.g., "Natural Titanium"), storage capacity (e.g., "256GB"), and serial or IMEI number, as Apple receipts always include this information. If AppleCare+ was part of your purchase, list it as a separate line item with its price.
For the financial details, update the subtotal, local sales tax rate, and total to match your actual transaction. Payment methods can include Apple Pay, Apple Card Monthly Installments, or a standard credit or debit card (don’t forget to include the last four digits). Here’s a quick breakdown of the key fields you’ll need to update:
| Category | Fields to Edit |
|---|---|
| Header | Store name, address, phone, store number, logo |
| Line Items | Product name, color, storage, serial/IMEI, quantity, price |
| Financials | Subtotal, tax rate, discounts, total |
| Payment | Payment method, card last 4 digits, approval code |
| Footer | Transaction ID, date/time, return policy, barcode |
Exporting the Receipt
Use the live preview feature to double-check all the details and formatting. Small elements like the store number or transaction ID are easy to miss but crucial for a polished result.
When everything is finalized, hit the Download button to export your receipt as a high-resolution PNG - no account or signup is needed. The high-DPI export ensures that even tiny details, like serial numbers and barcodes, stay sharp whether you're emailing the receipt or uploading it to an expense tool. Keep in mind, if you’re on the free plan, your download will include a watermark. Upgrading to the Pro plan removes the watermark, giving you a clean, print-ready file.
Once your receipt is ready, you can take it a step further by using AI tools to create a lifelike photo of it. Check out the next step to learn about generating realistic receipt photos with the Place in Scene feature.
sbb-itb-2232899
Step 2: Generating Realistic Receipt Photos with AI
Turn your exported Apple receipt PNG into a photorealistic image that looks like a physical print. The AI-powered Place in Scene tool makes this process effortless, embedding your receipt into lifelike environments.
Using the Place in Scene Feature
Start by opening the Place in Scene tool and uploading the high-resolution PNG you created in Step 1. Choose from pre-set backgrounds like a wooden desk, marble counter, leather wallet, or even a pocket. If you have a specific scene in mind, you can upload your own background photo, and the AI will seamlessly integrate the receipt into it.
"What sets Receipt Generator apart is the AI 'Place in Scene' feature: generate photorealistic images of your receipts on any surface (desk, counter, wallet, next to products) without printing." - ANYFP
For Apple receipts, scenes like a professional desk setup or featuring an Apple product box often provide a natural and credible appearance. This step builds on the customized receipt you designed earlier.
Adjusting Scene Details
The AI tool doesn’t just place your receipt - it fine-tunes the scene to look authentic. Once you pick a background, the tool adjusts perspective, scale, lighting, and shadows to match the surface texture. Whether it’s wood grain, polished marble, or a leather finish, the receipt blends seamlessly. Double-check the result to ensure the shadows and scale look right. For added realism, darker surfaces can make shadows more noticeable and convincing.
"The AI seamlessly integrates the receipt into the environment, adding natural shadows, textures, and lighting to produce a believable printed receipt image." - Trustiner
Saving and Organizing Generated Photos
When you’re satisfied with the final image, export it as a high-resolution PNG to retain all the details. Keep in mind that downloads on the free plan include a watermark. To stay organized, label your files clearly (e.g., apple-receipt-iphone16-june2026-scene.png) and sort them into folders by store or date for easy reference. Once saved, you’ll be ready to move on to fine-tuning your images for even greater realism.
Step 3: Fine-Tuning Your Receipt Photos
Once you've created a realistic scene, it's time to refine the layout and environmental details of your receipt. This step ensures your digital receipt not only looks convincing but can withstand close examination alongside actual physical receipts.
Design-Level Adjustments
Start by carefully reviewing the receipt template to ensure every detail aligns with Apple's official format. Double-check product descriptions, transaction numbers, and payment details. For instance, AppleCare+ should appear as a separate line item, clearly stating its coverage period. Also, make sure the store header matches an actual Apple location.
Pay close attention to the date and time format, as Apple receipts are precise down to the second, following this structure: 01/15/2024, 2:34:17 PM. Getting this small but important detail right can make a big difference in authenticity.
Once the receipt layout is polished, focus on integrating it seamlessly into a natural background using an optimized receipt photo generator with scene and lighting adjustments.
Scene and Lighting Optimization
Building on your earlier work, refine the scene to ensure every element feels natural. The background should complement the purchase context. For Apple products, placing the receipt near an Apple product box or on a clean, minimalist wooden desk can add authenticity.
To enhance the realism, consider the texture and lighting of the background. Darker surfaces like walnut wood or slate often create more defined shadows, adding depth to the image. If the lighting in your scene feels too flat, switch to a background with a stronger light source. The goal is to make the receipt appear casually placed, as if it naturally belongs in the scene, rather than looking digitally inserted.
Checking for Realism
Finally, compare your image to a real Apple receipt to spot any inconsistencies. Use this checklist to catch common mistakes:
| Element | What to Check |
|---|---|
| Logo placement | Ensure the Apple logo is centered at the top. |
| Tax display | Confirm the tax line includes the exact percentage (e.g., 9.5%), not just the dollar amount. |
| Footer content | Verify the inclusion of the "Thank you" message, 14-day return policy, customer Apple ID, and barcode. |
| Text alignment | Check that headers and footers are centered, while item prices are right-aligned. |
| Section dividers | Use equals-sign (===) dividers to separate the header, items, and totals. |
One often-overlooked detail is the tax line. Apple receipts always include the percentage rate alongside the total tax amount. Many generic templates miss this, making it an easy giveaway. Correcting this ensures your receipt stands up to even the closest inspection.
Conclusion: Key Takeaways
To create a believable receipt photo, start by tailoring a receipt template to match your needs, then embed it into a realistic scene using AI tools. Pay close attention to the finer details, ensuring everything appears natural and seamless.
The Receipt Generator plays a key role in producing a polished, photorealistic image. It complements your earlier efforts by delivering a final product that looks professional - no printing required.
What sets an authentic-looking receipt apart are the small, precise details. This includes using the correct tax percentage, properly aligned logos, accurate transaction numbers, consistent pricing, and a correctly formatted date and time. These elements ensure the receipt holds up under scrutiny.
Keep in mind, these tools are designed for legitimate uses only, such as creative projects, mockups, or recreating lost personal records. Any attempt to use generated receipts for fraudulent activities or false claims can lead to severe legal consequences. Always use responsibly.
FAQs
What details make an Apple receipt look real?
An Apple receipt stands out when it mirrors Apple’s clean and straightforward design. Key elements include a centered Apple logo, clear horizontal dividers, and right-aligned prices with an equals-sign separating the totals. To make it feel authentic, include these details:
- Store Information: Name, address, and phone number of the Apple Store.
- Transaction Details: Date, time, associate’s name, and a unique transaction reference.
- Payment Information: Masked card details (e.g., **** **** **** 1234).
- Product Lines: Use Apple’s official product names and specifications, such as color and storage capacity (e.g., "iPhone 15 Pro Max, 256GB, Space Black").
- Taxes and Totals: Ensure accurate calculations, including sales tax and the final total.
- Barcode: Add a barcode at the bottom for a realistic touch.
By sticking to Apple’s minimalist aesthetic and including these details, the receipt will look polished and believable.
How do I remove the watermark on downloads?
To get rid of watermarks on your downloaded files, you'll need to switch to a paid subscription. The free version always includes watermarks, but upgrading to any paid plan - whether it's weekly, monthly, or lifetime - ensures that all future downloads are watermark-free.
Can I use my own background photo for Place in Scene?
The Place in Scene feature is designed to create lifelike images of receipts placed on surfaces such as wooden desks or marble countertops. It offers a selection of built-in scenes, ensuring that elements like lighting, shadows, and perspective are carefully aligned for a realistic appearance. Currently, the tool focuses exclusively on these pre-set environments to maintain accuracy and visual authenticity.