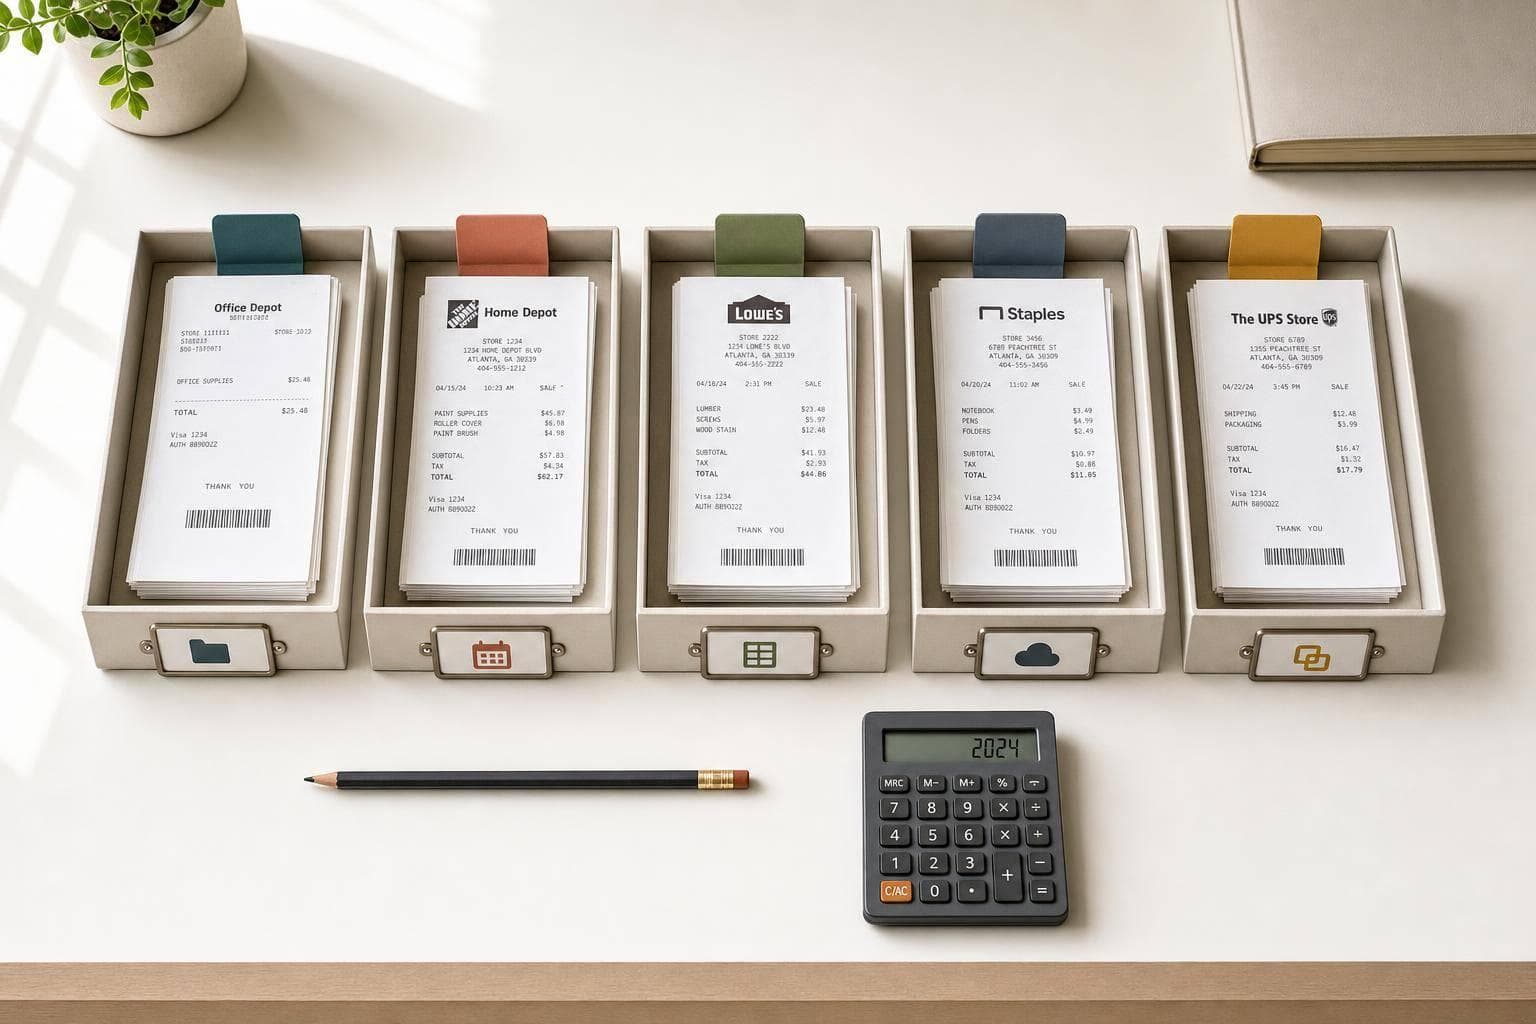
5 Methods to Categorize Receipts for Taxes
If I want tax prep to be less painful, I need a receipt system that shows five things: amount, date, vendor, what I bought, and why it was for business. Miss one of those, and a deduction can be denied.
Here’s the short version: I can sort receipts in five main ways:
- By IRS expense category if I want folders that line up with Schedule C
- By month or quarter if I want the simplest filing habit
- In a spreadsheet if I want totals and receipt links in one place
- With digital tags and cloud folders if most of my receipts are online
- With a hybrid paper-and-digital system if I deal with both printed and e-receipts
A few points matter most:
- The IRS often wants support for expenses of $75 or more
- Meals and travel usually need extra notes, like who attended and the business reason
- Thermal paper receipts can fade in months, so I should scan them within 48 hours
- A 5- to 20-minute weekly review can keep receipts from piling up
The right setup depends on how my receipts come in and how fast I may need to find one later. Below is a simple side-by-side view.
Quick Comparison
| Method | Best for | Setup | Finding receipts later |
|---|---|---|---|
| IRS category | Schedule C filers | Medium | Fast |
| Month/quarter | Low receipt volume | Low | Slower |
| Spreadsheet | Freelancers, solo businesses | Medium | Medium |
| Digital tags + cloud | Mostly digital receipts | Medium | Very fast |
| Hybrid paper + digital | Mixed receipt types | Medium | Fast |
If I keep category names, file names, and business-purpose notes the same all year, tax time gets much easier.
sbb-itb-2232899
What Tax Records Your Receipts Need to Show
Before you choose a way to sort receipts, make sure each one has the details needed to back up the deduction. IRS Publication 463 and Revenue Procedure 97-22 say your records need to show the amount, date, place, and description for each business expense.
Key Details to Record from Each Receipt
For every receipt you keep, record these fields:
| Field | What to Capture | Example |
|---|---|---|
| Amount | Exact total paid, including tax | $37.88 |
| Date | Full date in MM/DD/YYYY format | 03/14/2026 |
| Vendor Name | Business name and location | Staples, Austin, TX |
| Description | Specific items or services purchased | Printer ink cartridges (2-pack) |
| Business Purpose | Why the expense was necessary | Printing client contracts |
These are the minimum details to grab before assigning a receipt to a tax category. If those fields are missing, sorting gets messy fast.
For meals and travel, add who was there and the business purpose on the same day. That small habit can save a lot of trouble later.
When Digital Receipt Copies Work for Tax Records
Digital copies are fine for tax records. IRS guidance says a scanned or photographed receipt counts as valid if it is legible, accurate, complete, and stored in a way that prevents editing. Once the copy is complete, you do not need to keep the paper original.
This matters even more with thermal paper receipts. They fade fast, often within months, so scan or photograph paper receipts within 48 hours of purchase.
Tax Deduction Categories That Require Receipts
The IRS generally asks for receipts for business expenses of $75 or more, though lodging and meals often need documentation no matter the amount. The categories that tend to need the most receipt support include meals, travel, office supplies, utilities, software, and vehicle expenses. If the paperwork is missing, the deduction can disappear with it.
For mixed-use expenses, like a cell phone or home internet bill, use a consistent and objective allocation method before sorting receipts into a category. Actual usage percentages are a common way to do that.
Once these records are complete, you can sort them in a way that makes them easy to find at tax time.
1. Categorize Receipts by IRS Expense Category
If you file Schedule C, sort each receipt into the tax category it matches. That way, tax time feels less like a scavenger hunt and more like a simple totals check.
Schedule C Alignment
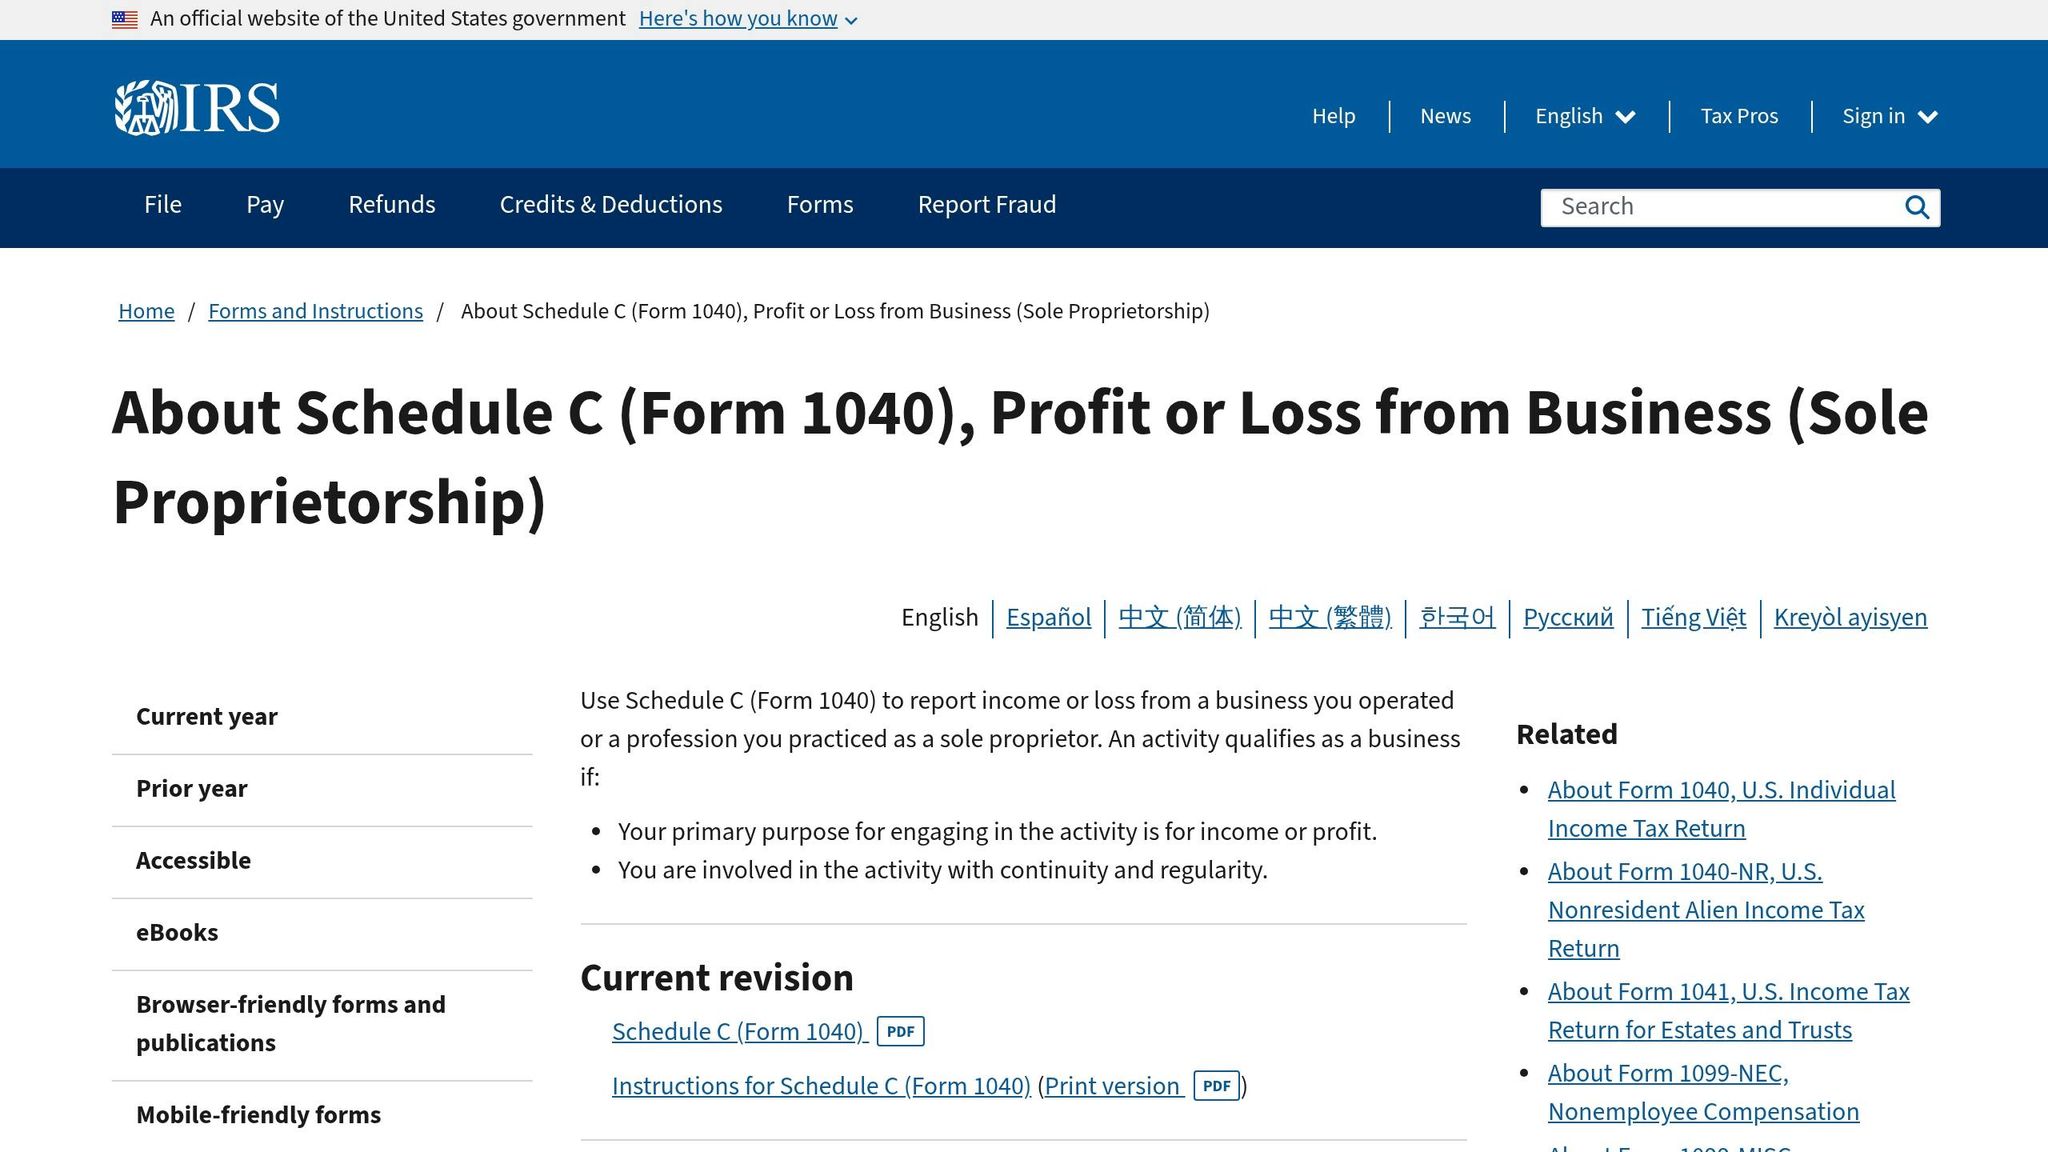
Once the receipt details are in your system, place each expense under the same tax category you'll use when you file. In plain English: each folder or digital tag should match a Schedule C line.
For example, printer ink would go under Line 18 – Office Expense. A business meal belongs under Line 24b – Meals. Airfare falls under Line 24a – Travel.
Here are the categories most people use most often:
| Schedule C Line | Category | Common Examples |
|---|---|---|
| Line 8 | Advertising | Social media ads, business cards, website hosting |
| Line 9 | Car and Truck | Gas, parking, tolls, maintenance |
| Line 17 | Legal/Professional | CPA fees, lawyer fees, tax software |
| Line 18 | Office Expense | Supplies, postage, SaaS subscriptions |
| Line 24a | Travel | Business flights, hotels, ground transport |
| Line 24b | Meals | Business meals (typically 50% deductible) |
| Line 25 | Utilities | Business portion of phone and internet |
| Line 27 | Other Expenses | Professional memberships, industry education |
| Line 30 | Business Use of Home | Business portion of rent, mortgage interest, home utilities |
This setup pays off later. Instead of sorting a pile of receipts in March or April, you're tagging each one once and moving on.
Audit Retrieval Speed
If the IRS asks about one area of spending, like travel, a categorized system lets you pull the answer almost right away. That's the main win here: faster responses, less digging, and a cleaner paper trail.
Best Use Case: Schedule C Filers
This method works best for people who file Schedule C and want the fastest year-end totals.
If you'd rather use a simpler rhythm, the next method sorts receipts by month or quarter.
2. Organize Receipts by Month or Quarter
If sorting by category feels a bit stiff, start with dates instead.
Use monthly folders if you deal with a lot of receipts. Go with quarterly folders if you mostly track estimated taxes. Start with the date first, then add category labels later only if you need them. That keeps the system simple at the start.
Fit for Paper and Digital Receipts
This setup works well for both paper and digital records.
For paper receipts, use a 12-pocket accordion folder or 12 separate envelopes labeled by month as receipts come in. For digital files, set up a year folder with 12 monthly subfolders, like Receipts 2026 > March.
Set aside 5 to 20 minutes each week to scan and file receipts before they turn into a messy stack. A small weekly habit saves a lot of cleanup later.
For file names, use this format: YYYY-MM-DD_Vendor_Amount_Category.pdf
Example: 2026-03-15_Staples_47.32_OfficeSupplies.pdf
That naming pattern makes files easy to sort and search by date, vendor, or type.
Audit Retrieval Speed
Month folders make it easy to pull records for one period fast. That helps when you need to check a month, quarter, or tax window without digging through everything.
Add a business purpose note to each receipt. That extra detail can save time if you ever need to explain the expense.
Best Use Case: Individual or Small Business
This method fits well if you handle a lot of receipts each month or file estimated taxes. Use monthly folders for heavier receipt flow and quarterly folders for lighter tracking.
If you also want totals by category, the next method adds a spreadsheet.
3. Track Receipts in a Tax Spreadsheet
Folders keep your receipt files in order. A spreadsheet keeps the numbers in order.
That’s the part that turns a pile of receipts into one master log with categories, totals, and source files. Use one row per receipt so each total stays tied to the original document. When tax time rolls around, that setup makes prep faster and much easier to check.
IRS or Schedule C Alignment
Set up your Category column to match Schedule C line items, such as Line 8 (Advertising), Line 18 (Office Expenses), Line 22 (Supplies), and Line 24b (Meals), and your spreadsheet starts to look a lot like a file-ready record. Stick with the same category names across your whole system so nothing gets messy later. Then, when you file, you’re pulling totals straight into the return instead of sorting things from scratch.
Use SUMIF to total each category automatically.
Audit Retrieval Speed
Add a Receipt Location column and paste in the file link for each receipt. If you ever need to show backup during an audit, that gives you a one-click path from the spreadsheet entry to the original document.
In the Notes column, write the business purpose right away, especially for meals and travel. If that detail is missing, the IRS can disallow those deductions.
Fit for Paper and Digital Receipts
Use the same spreadsheet for both paper and digital receipts. Scan paper receipts, upload them, and paste the file link into the sheet.
Here’s a simple column setup:
| Column | Purpose |
|---|---|
| Date | When the purchase was made |
| Vendor | Who you paid |
| Amount | Total spent (including tax) |
| Category | Maps to Schedule C lines |
| Payment Method | Cash, credit, or debit |
| Receipt Location | Link to digital file |
| Notes | Business purpose and who attended |
Best Use Case: Individual or Small Business
This method works best for freelancers, sole proprietors, and very small businesses. It works in any spreadsheet app, and it gives you full control over how you name and group categories.
Set aside 15–30 minutes every Friday to log that week’s receipts. It’s a small habit, but it saves you from the year-end scramble.
4. Use Digital Tags and Cloud Folders
Use cloud folders for your files and a spreadsheet for your totals. It’s a simple setup, but it works well when you need to find receipts fast at tax time without turning your categories into a mess.
IRS or Schedule C Alignment
Use the same Schedule C category names in every folder and tag. The goal is simple: make your folder structure match the tax form you file.
Start with one top-level folder for the tax year, such as 2026 Taxes. Inside that, add subfolders that match your Schedule C categories, like Advertising, Office Expenses, Travel, and Meals. When each receipt lands in the right folder from the start, most of the sorting work is already done.
Name files YYYY-MM-DD_Vendor_Amount_Category.pdf. That way, files sort by date and stay easy to search. It also makes reconciling records later much less of a headache.
Digital Tags for Multi-Use Expenses
Use tags when one receipt fits more than one purpose. The folder can hold the main tax category, and the tags can track the extra details.
For example, a meal receipt might sit in a Meals folder, but you can also tag it with a client name, project, or asset tag so it shows up fast when you need it.
Audit Retrieval Speed
A searchable archive makes it much easier to pull every receipt tied to a vendor or category. If the IRS asks for backup, you don’t want to dig through random files for an hour.
Meals and travel need a bit more detail. Add a note or tag that covers the who, what, when, where, and why, so the business purpose is clear.
Best Use Case: Individual or Small Business
This setup works best when most of your receipts are digital and you need to search across a lot of files in a hurry. Cloud storage also keeps receipts available across devices and helps protect them if your computer crashes.
One small habit makes a big difference: move each week’s receipts into their final folders before they start piling up.
5. Build a Hybrid Paper-and-Digital System
A hybrid system gives you two things at once: backup and search. It’s a good fit when you deal with both paper and digital receipts. If one setup by itself keeps falling short, this is often the fix.
Fit for Paper and Digital Receipts
Set up two collection points from day one:
- A physical receipt tray or envelope for paper receipts
- A dedicated email address for digital purchases so e-receipts land in one place automatically
That simple split keeps business records away from personal clutter. Then, once you have the paper receipt, scan it and move it into your digital archive.
Schedule C Alignment
Scan thermal receipts right away. They fade, and that can turn a normal record into a blank slip of paper.
After that, file each receipt using the same Schedule C category names in both your paper and digital systems. Also add the business purpose at the time of purchase, either on the back of the paper receipt or in the digital file notes. For meals and travel, include the who, what, when, where, and why.
Audit Retrieval Speed
Scan paper receipts, use a steady file naming format like YYYY-MM-DD_Vendor_Amount_Category.pdf, and store the paper copies in your accordion folder. That kind of consistency makes year-end cleanup a lot less painful.
Keep both digital and physical records for 7 years as a safe rule of thumb.
Best Use Case: Individual or Small Business
This setup works well for freelancers and small business owners who want one simple process for both paper and digital receipts. The point is fast retrieval and clean backup. Next, compare this method with the others by speed, effort, and backup strength.
Side-by-Side Comparison of All 5 Receipt Categorization Methods
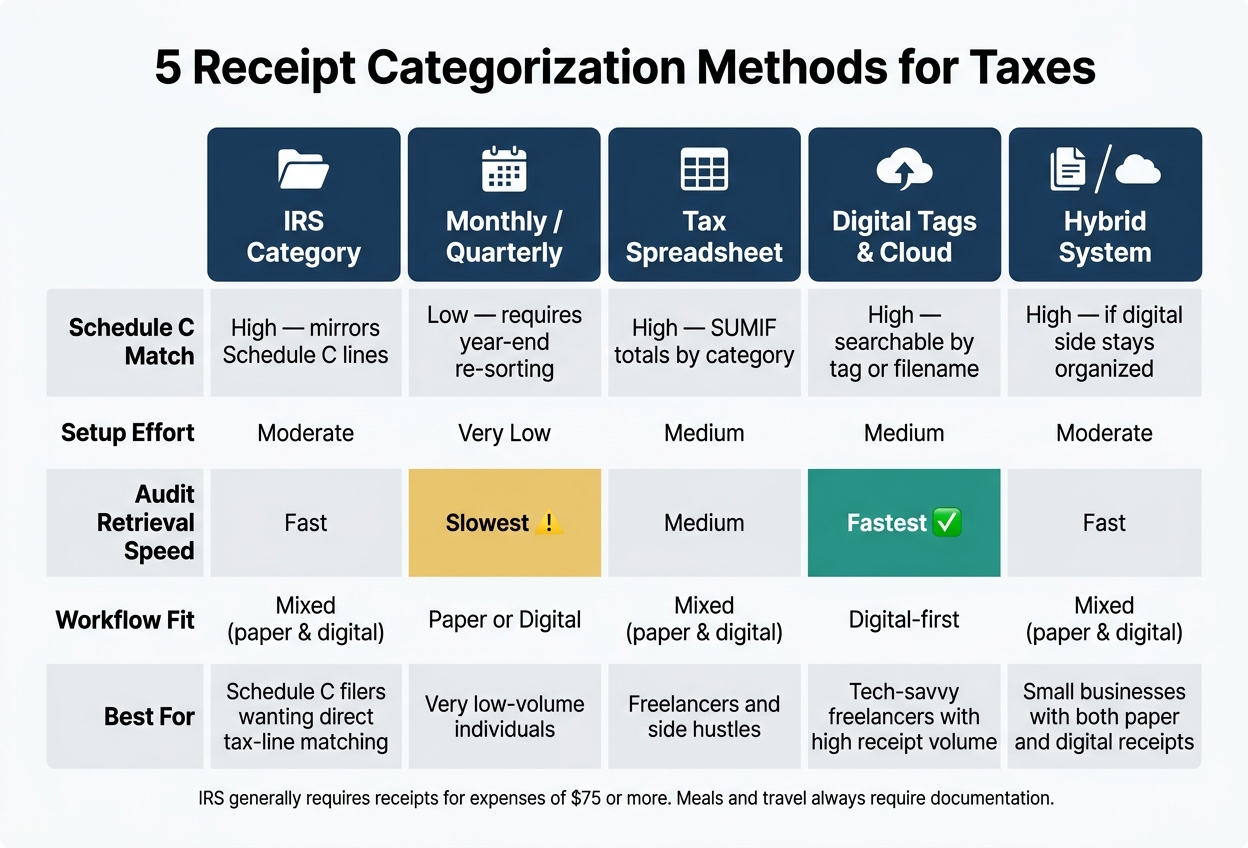
5 Receipt Categorization Methods for Taxes: Side-by-Side Comparison
Use this quick comparison to find the method that fits your receipt volume and the way you like to file things.
| Method | Schedule C Match | Setup Effort | Audit Retrieval Speed | Workflow Fit | Best Use |
|---|---|---|---|---|---|
| 1. IRS Category | High - mirrors Schedule C lines | Moderate | Fast retrieval | Mixed | Users who want direct Schedule C matching |
| 2. Monthly/Quarterly | Low - requires year-end re-sorting | Very Low | Slowest retrieval | Paper or Digital | Very low-volume individuals |
| 3. Tax Spreadsheet | High - SUMIF totals by category | Medium | Medium retrieval | Mixed | Freelancers and side hustles |
| 4. Digital Tags & Cloud | High - searchable by tag or filename | Medium | Fastest retrieval | Digital | Tech-savvy freelancers with high receipt volume |
| 5. Hybrid System | High - if the digital side stays organized | Moderate | Fast retrieval | Mixed | Small businesses with both paper and digital receipts |
The main gap between these methods comes down to audit retrieval speed.
Method 4 is the fastest. If you name files the same way every time, searching for a receipt is simple and quick. No digging through folders. No last-minute scramble.
Method 2 is the slowest. It may feel easy at first, but there's a catch: you still need to sort receipts by expense type at year-end. That extra step can turn a small pile into a headache.
So what should drive your pick? How your receipts come in and how fast you may need to find one later. If most of your records are digital, a search-based system makes life easier. If you're dealing with a light flow of paper receipts, a simpler setup may do the job.
Once you pick a method, steer clear of the mistakes below that make tax-time sorting harder.
Mistakes That Make Receipt Organization Harder at Tax Time
Even a solid receipt system can fall apart when a few habits start to slide. And once that happens, tax time gets messy fast. The mistakes below can weaken any of the five systems above.
Mixing Personal and Business Receipts
Using the same account for personal and business spending makes deductions tougher to back up. That overlap can draw IRS attention and leaves you doing extra cleanup later. The simple fix is to keep the two separate with dedicated business bank accounts and credit cards.
Using Inconsistent Category Names
If your paper folders say "Dining", your spreadsheet says "Meals", and your cloud tags say "Food & Bev", you're setting yourself up for a search headache. Same expense, three different labels. Pick one naming system and stick with it everywhere.
Not Recording the Business Purpose
A receipt shows what you bought. It doesn't show why you bought it for the business. Add the business purpose right after the purchase, while the details are still fresh.
Saving Files with Vague or Generic Names
A file named Scan_001.pdf won't help much when you're hunting for one receipt months later. Generic file names slow down tax prep and make receipts harder to find. Use one file-naming pattern across every receipt.
Waiting Until Year-End to Sort Receipts
Waiting until year-end makes it more likely that receipts fade, go missing, or lose their context. A weekly scan and a monthly reconciliation schedule can save a lot of stress later. Fix these habits now, and tax time gets a whole lot easier.
Conclusion
The best receipt system is the one you'll stick with all year.
Pick the setup that fits how receipts come in, then use the same naming and filing habit from January through December. That kind of consistency makes a big difference when tax season rolls around.
A 5- to 20-minute weekly review helps keep everything in order and makes receipts much easier to find when you need them at tax time.
FAQs
Which receipt system is best for my business?
The best receipt system is the one you’ll stick with all year. For most small businesses, a hybrid approach tends to work best: use email filters for digital receipts, scan paper receipts with your smartphone, and keep both in a secure cloud folder sorted by tax-deductible category.
If you only deal with fewer than 30 receipts a month, a labeled accordion folder can do the job just fine. Once the volume gets higher, automated tools or accounting software usually make more sense.
How long should I keep tax receipts?
The IRS says you should keep most tax receipts for at least 3 years after you file your return. That’s the standard rule.
That said, a lot of people play it safe and keep records for 7 years instead. It gives you more breathing room if an issue comes up later.
Here’s how that can look in practice:
- 3 years for most tax records
- 6 years if you underreported income
- 7 years for bad debt
- Indefinitely for property records or fraud investigations
Not every document follows the same timeline, so the time you keep something can depend on the type of record and the reason you might need it.
What if a receipt is missing details?
If a receipt is missing details or gets lost, the IRS says you can still support the deduction with other records that show the date, amount, vendor, and business purpose.
Start by asking the vendor for a duplicate receipt. If you can’t get one, use your bank or credit card statement and add a written memo that fills in the missing details.
For lost receipts, Receipt Generator can also help you create a clean digital record for your files.