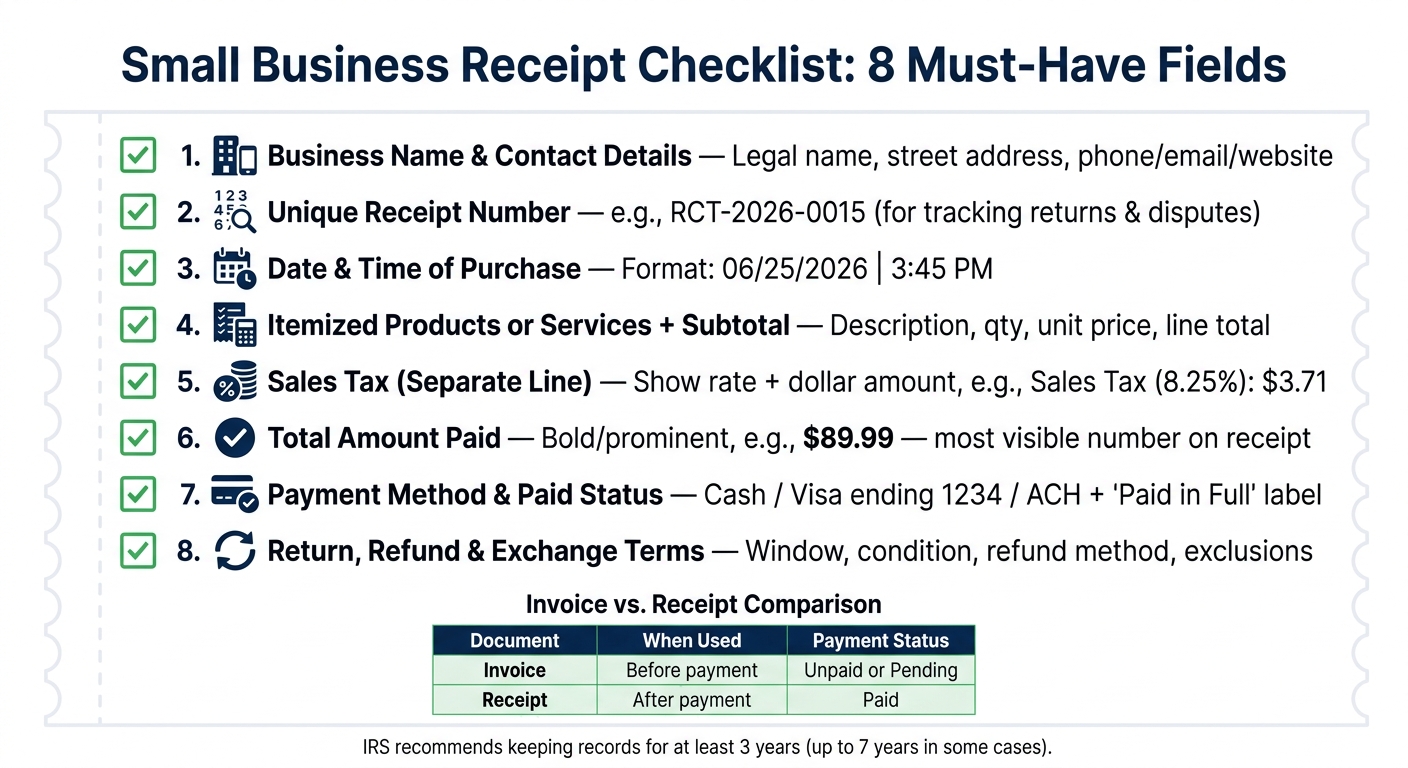
Small Business Receipt Checklist: 8 Must-Haves
If your receipt is missing even one core field, it can cause return issues, tax record gaps, or payment disputes. I’d keep every small business receipt tied to these 8 points: business details, receipt number, date and time, itemized items, subtotal, sales tax, total paid, payment method, and return terms.
Here’s the short version:
- A receipt proves payment happened
- An invoice asks for payment
- The IRS generally says businesses should keep records for at least 3 years
- That can extend to 6 years in some underreporting cases and 7 years for some bad-debt claims
- U.S. receipt formatting should stay consistent:
- Date: 06/25/2026
- Time: 3:45 PM
- Currency: $1,250.75
- Phone: (555) 123-4567
- Sales tax should appear on its own line
- Card receipts should only show limited digits, such as Visa ending 1234
What this means in practice is simple: I’d use one repeatable receipt layout and fill in the same 8 fields every time so the receipt works for the customer, your books, and tax files.
Quick Comparison
| Document | When I use it | What it says | Payment status |
|---|---|---|---|
| Invoice | Before payment | Amount due | Unpaid or pending |
| Receipt | After payment | Payment received | Paid |
This article boils the process down to one plain checklist you can use on every sale.
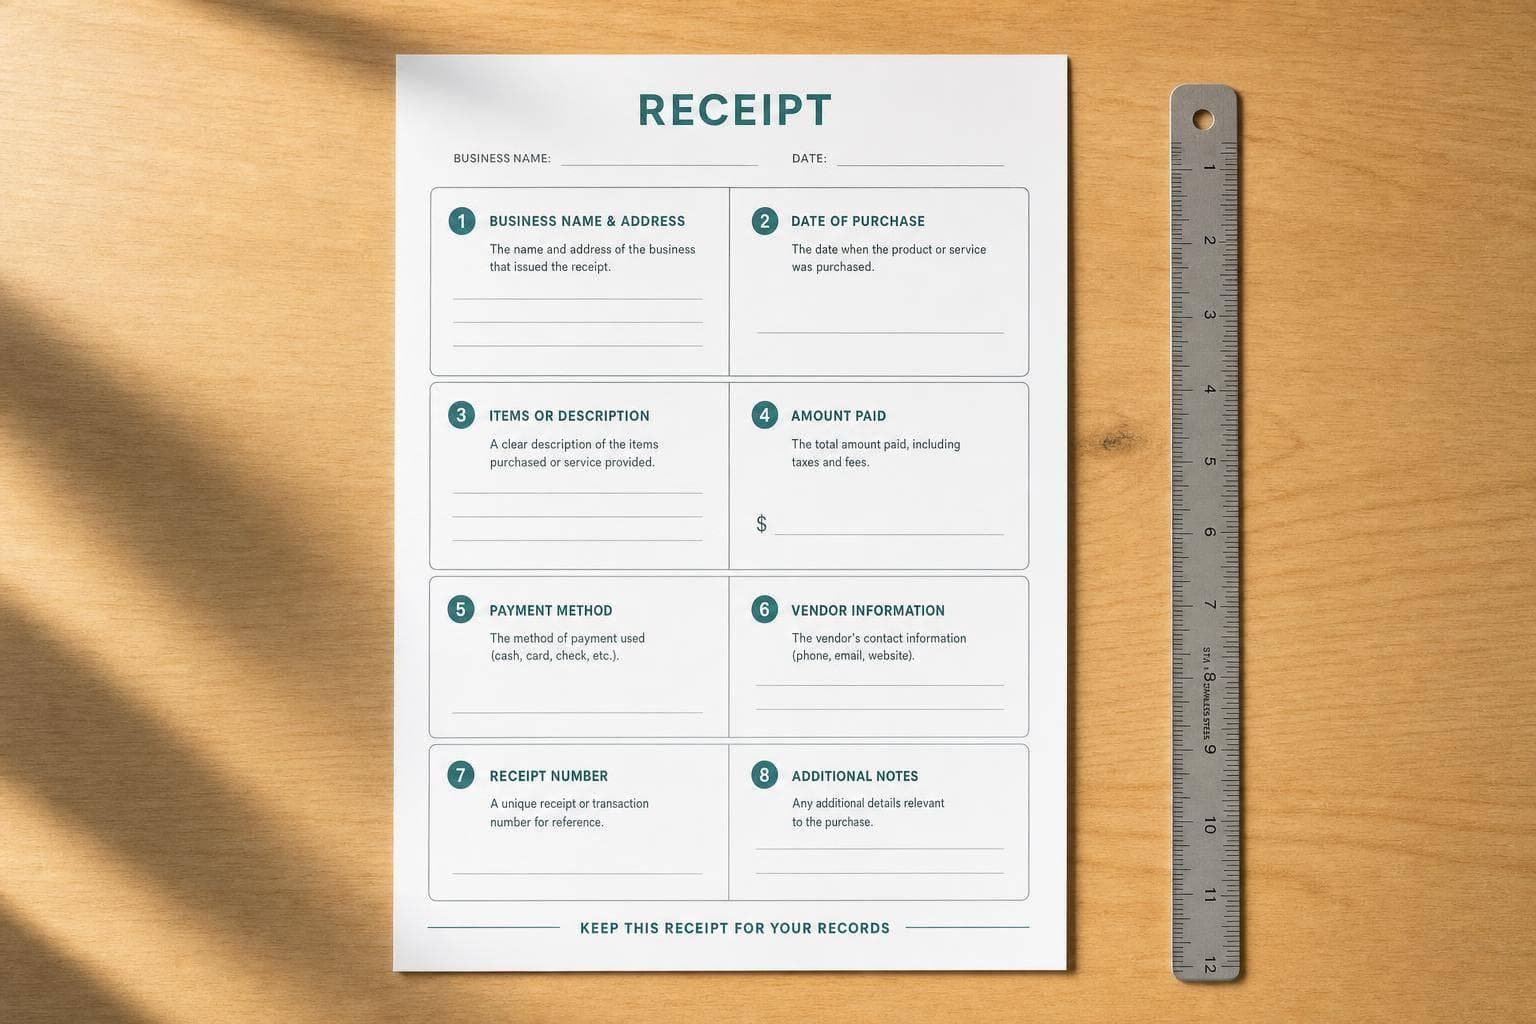
Small Business Receipt Checklist: 8 Must-Have Fields
Receipt Setup Basics Before You Fill In the Checklist
Start with a reusable receipt template. It can auto-fill your business details, handle tax math, and keep every receipt in the same format. That means fewer mistakes and less time fixing small stuff later.
A good template also keeps the standard fields in place, so each receipt looks the same from one sale to the next. Once that layout is ready, the checklist begins with the business details that every receipt needs to show.
Use U.S. Formatting From the Start
Set U.S. formatting before you save the template. Use these formats from the start:
- Phone numbers: (555) 123-4567
- Dates: 06/25/2026
- Time: 3:45 PM
- Currency: $1,250.75
- Address: Use a street address, not a P.O. Box.
After the template is set, use the checklist below to fill in each receipt the same way every time.
sbb-itb-2232899
Checklist Items 1–4: Business Details, Receipt Number, Date, and Itemization
Start with the details that identify the sale and make it easy to track. These first four items should sit near the top of every receipt. They tell the customer who made the sale, when it happened, and what was purchased.
1. Business Name and Contact Details
Your receipt should show your legal business name - the name registered with your state's Secretary of State. If you also use a DBA, you can add it too, but the legal entity should stay clear.
Include your full street address with city, state, and ZIP code. Skip the P.O. Box. Then add at least one contact method, like a phone number, email address, or website URL.
2. Unique Receipt Number
Give every receipt its own number, such as RCT-2026-0015. This makes it easier to track returns, disputes, and reprints.
3. Date and Time of Purchase
Record the exact purchase date and time using the same U.S. format across the template - for example, 06/25/2026 and 3:45 PM. One format, used every time, keeps things clear.
4. Itemized Products or Services and Subtotal
List each item as its own line with a description, quantity, unit price, and line total. Skip vague labels like "Merchandise" or "Misc." For example, instead of "Item – $45.00," write "Blue Cotton T-Shirt, Size M – Qty: 1 – $45.00."
Also show the subtotal before tax and fees.
From there, the receipt moves into tax, payment, and return details.
Checklist Items 5–8: Taxes, Total Paid, Payment Method, and Return Terms
With the subtotal in place, wrap up the receipt with the last few details: tax, total, payment info, and return terms.
5. Taxes Shown as a Separate Line
List sales tax on its own line, and show both the rate and the dollar amount. For example: Sales Tax (8.25%): $3.71. That makes the math easy to check and helps connect the subtotal to the final amount paid.
Once tax is added, the total should be the number people notice first.
6. Total Amount Paid
Make the total the most prominent number on the receipt. Put it near the bottom and use bold or larger text so it stands apart from the subtotal and tax lines. For example: $89.99 or $2,345.60.
7. Payment Method and Paid Status
Add a clear status label like Paid in Full or Payment Received so the receipt works as proof of payment. Then show the exact payment method: Cash, Visa ending 1234, or ACH.
For card payments, don’t print more than the last five digits of the card number or the expiration date on an electronically printed receipt.
Finish this part with a short return policy so the customer knows what comes next.
8. Return, Refund, or Exchange Terms
Include a brief return policy that covers:
- The return window
- Item condition
- Whether the receipt is required
- How refunds are issued
- Any final-sale exclusions, such as custom orders, digital downloads, or clearance items
If the refund goes back to a card or digital payment method, note that it may take 3–5 business days to process.
Conclusion: Apply the 8-Point Checklist to One Reusable Template
Use this checklist as your last review before you save a receipt. Check it against these eight fields: business details, receipt number, date and time, itemized lines with subtotal, sales tax, total paid, payment method, and return terms. If even one is missing, the receipt falls short for both the customer and your records.
The easiest way to make this routine is to use one reusable template. Keep the fixed details in place - business name, address, phone, email, and return policy - then update the receipt number, date, line items, tax, total, and payment method for each sale.
A reusable digital template helps keep receipts consistent, organized, and ready to export after each sale. It also makes day-to-day work a lot less messy, because every receipt follows the same format from the first sale to the last.
FAQs
Do digital receipts count as valid business records?
Yes. Digital receipts count as valid business records as long as they include the key transaction details.
Whether they arrive by email, PDF, or a mobile app, they can work as legal proof of purchase and support your accounting records. They’re also easier to search, back up, and keep safe from damage than paper records, provided you store and organize them in line with local tax rules.
What happens if a receipt is missing key details?
Missing key details can create headaches for both the business and the customer.
If a receipt is incomplete, a buyer may question it or refuse to accept it. Tax authorities may also reject it, which can cause trouble during an audit or when filing taxes.
The ripple effect doesn’t stop there. Incomplete receipts can lead to:
- Accounting mistakes
- Payment disputes
- Inventory or sales tracking issues
- Fines
- Legal trouble
- Lost customer trust
A small missing detail can turn into a much bigger mess once records, payments, and tax documents need to line up.
How long should a small business keep receipts?
Most U.S. small businesses should keep tax-related receipts for at least three years from the date the tax return was filed or its due date, whichever is later.
That said, some cases call for a longer window. Keep records for four years for employment tax records, six years if income was underreported by more than 25%, and seven years for worthless securities or bad debt deductions.