5 Ways to Create Physical-Looking Receipt Images Digitally
Creating realistic digital receipt images is easier than ever. Whether you want to replace a lost receipt, test payment systems, or create professional mockups, there are plenty of tools to help. Here are five effective methods:
- AI Scene Tools: Use AI features like "Place in Scene" to create receipts that appear naturally on surfaces like tables or counters.
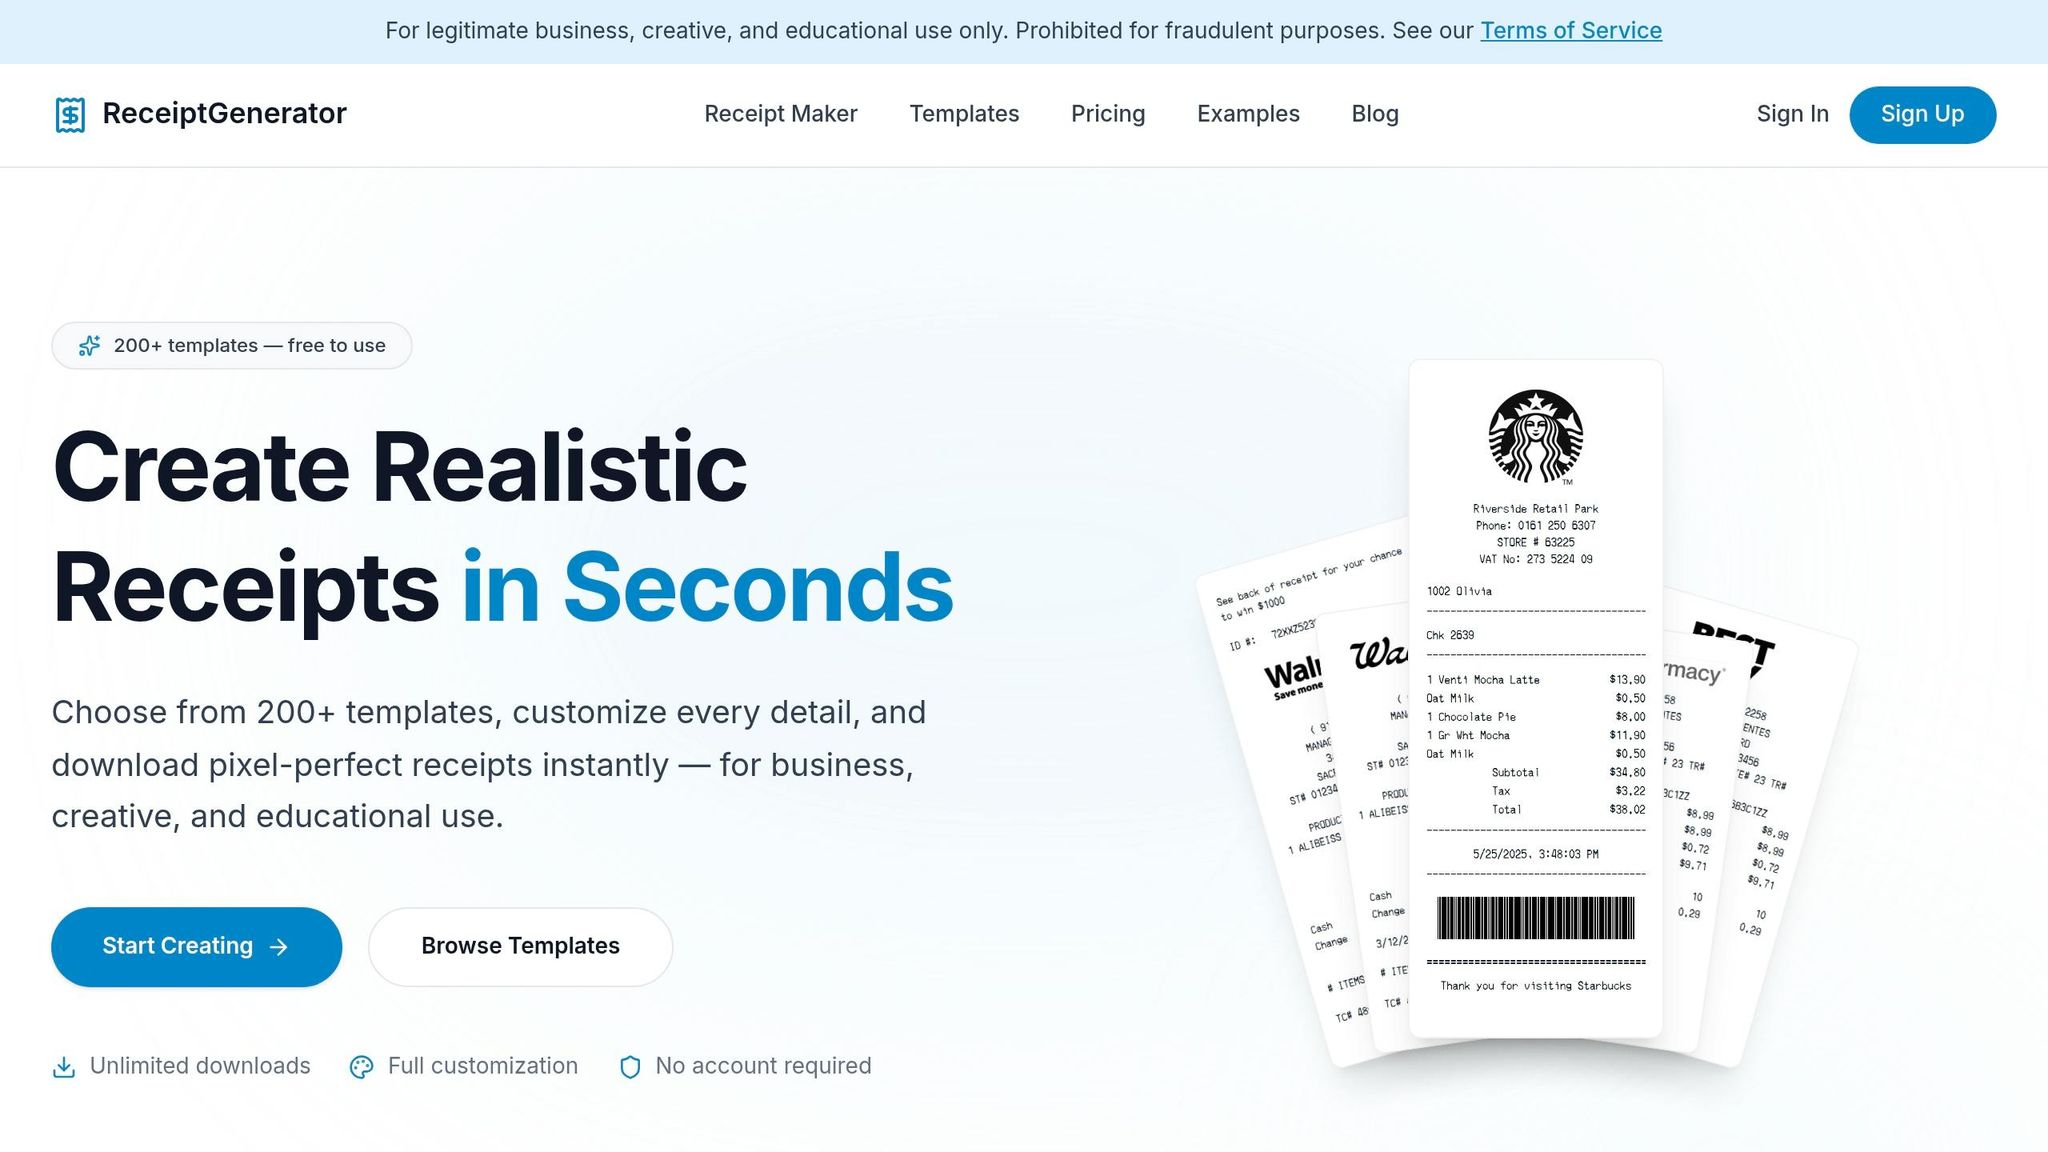
- Customizable Templates: Tools like Receipt Generator offer over 190 templates for replicating receipts from popular retailers and restaurants.
- Photo Editing Software: Apps like Photoshop and GIMP let you add texture, shadows, and details for a lifelike look.
- Canva Templates: Canva provides user-friendly templates with drag-and-drop customization for branded receipts.
- AI Image Generators: Advanced AI tools create high-resolution mockups with realistic textures and lighting.
Each option caters to different needs, from quick designs to detailed, professional results. Whether you're a business owner, designer, or freelancer, these tools ensure your receipts look polished and believable.
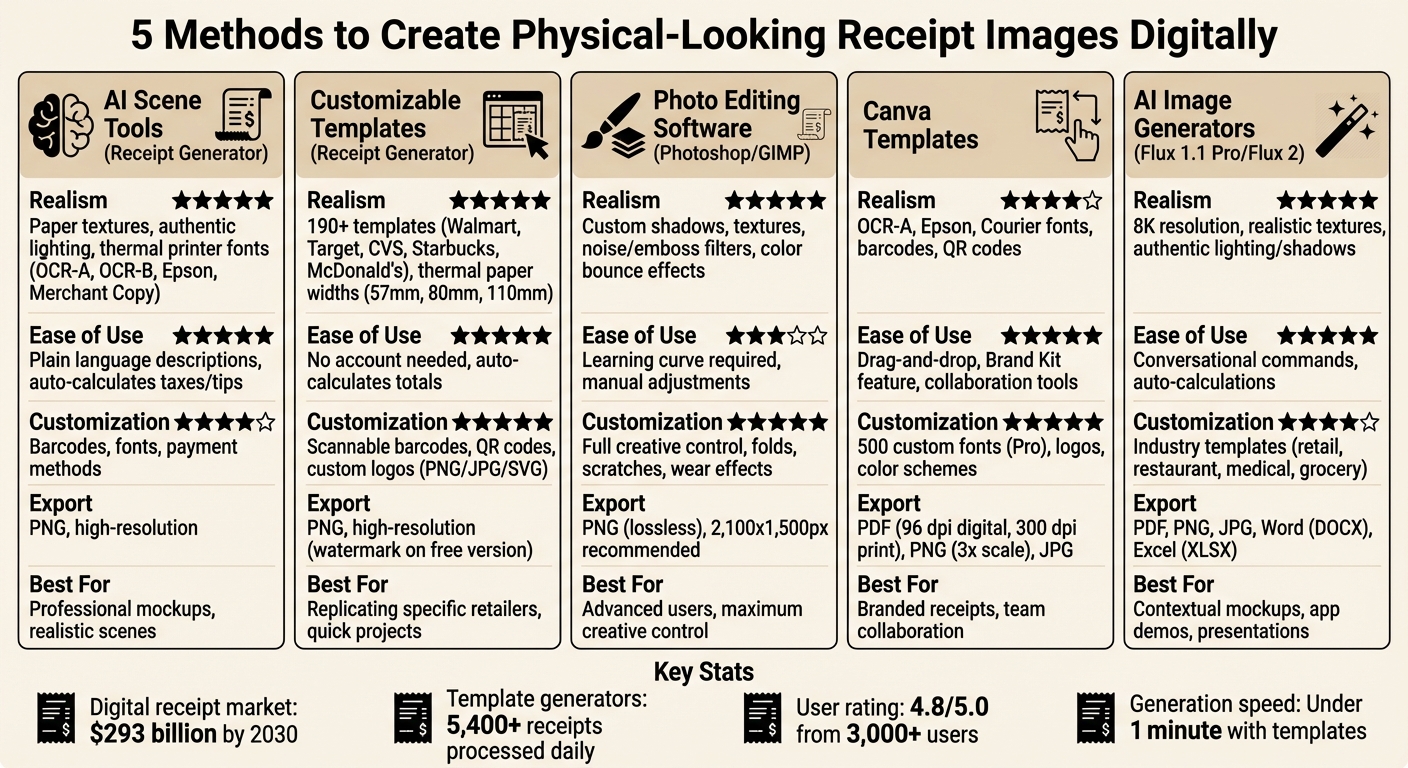
5 Methods to Create Digital Receipt Images: Features Comparison Chart
1. Use Receipt Generator's AI Place in Scene Feature
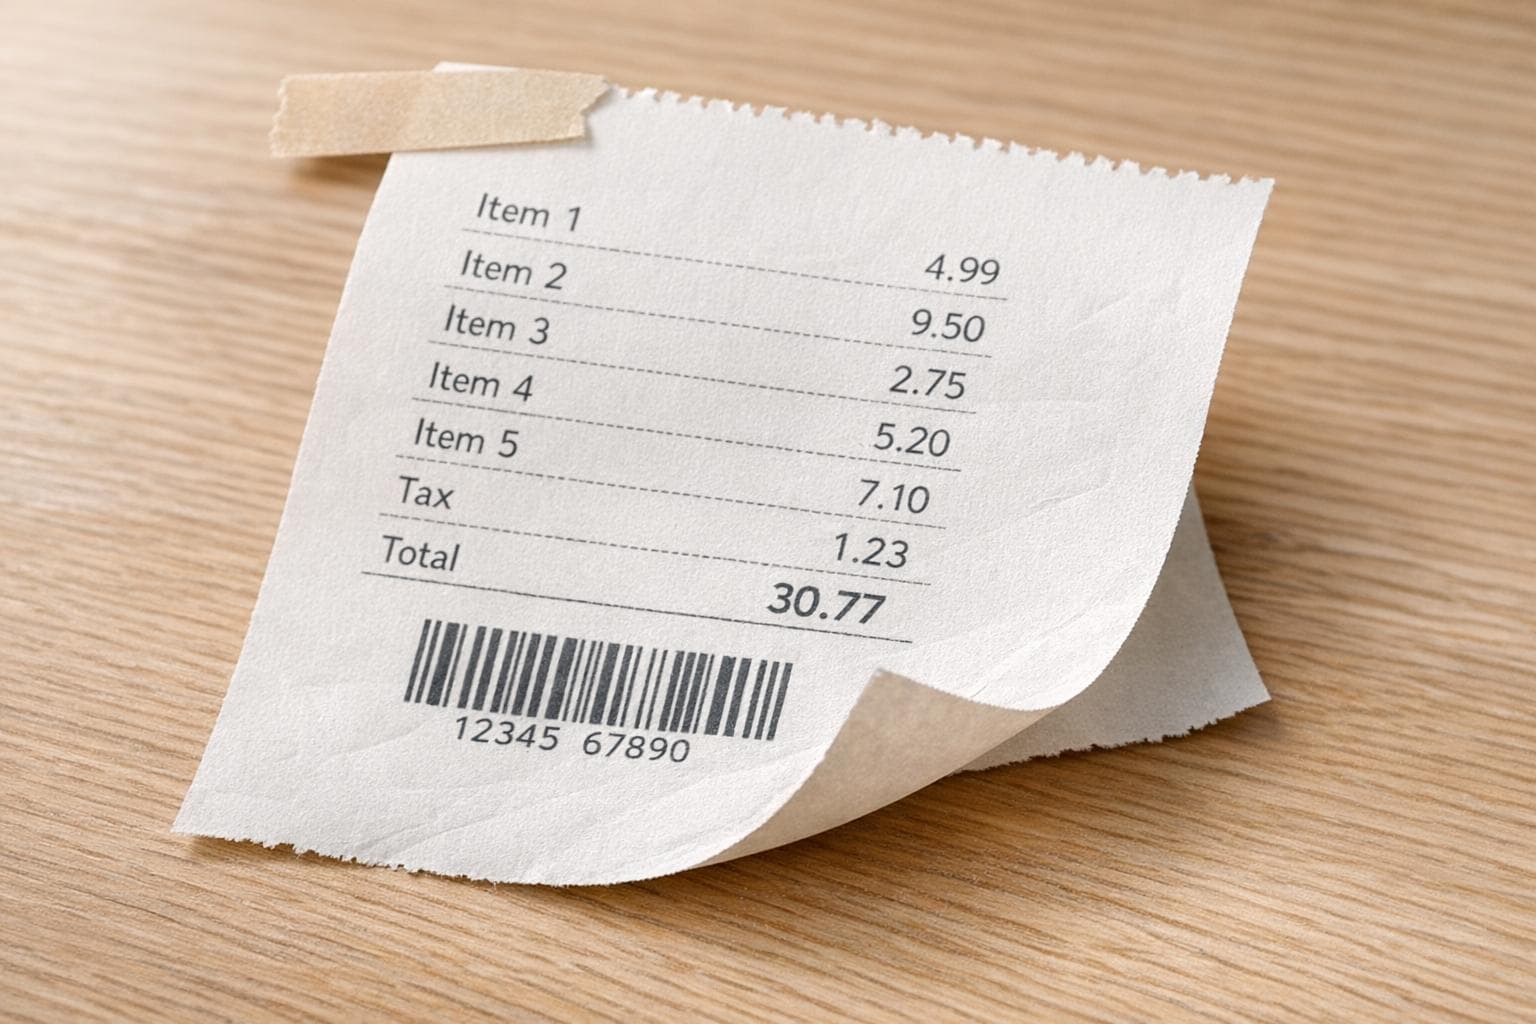
The AI Place in Scene feature from Receipt Generator takes digital receipts to the next level by embedding them into realistic scenes, like wooden desks or marble countertops. Instead of a plain digital file, you get an image that looks like a real, printed receipt placed in a natural setting. This is just one of five ways to create a receipt that feels tangible, offering results that look professional and believable.
Realism of Output (Physical Appearance)
This tool goes all out to make your receipt look authentic. It adds paper textures and adjusts lighting to mimic the look of a printed receipt. Fonts like OCR-A, OCR-B, Epson, and Merchant Copy are used to replicate the style of thermal printers or typewriters. The AI takes care of the fine details - alignment, spacing, and font choice - so the receipt mirrors what you'd get from a real point-of-sale system.
All you need to do is describe the scene in plain language, like "a coffee shop receipt for two lattes on a wooden table." The AI handles the rest, generating merchant details, addresses, and even calculating taxes, tips, and subtotals. It’s designed to be precise, ensuring every detail aligns with a real-world receipt.
Ease of Use (Intuitive Tools, User-Friendly Interface)
The interface is designed for simplicity. You can generate a complete receipt in seconds and then tweak it effortlessly. Need to add a barcode or change the font? Just ask. You can also include specific details like tax rates or payment methods (e.g., "Visa ending in 4242") directly in your prompt to make the receipt even more realistic.
Export Quality (Resolution, Formats)
Once you're satisfied, the receipts export as high-quality PNG images, perfect for professional use. For those who need even more customization, there’s a manual editor where you can upload high-resolution logos or make pixel-perfect adjustments. This makes it ideal for small business owners and professionals who need their receipts to meet exact standards.
sbb-itb-2232899
2. Use Receipt Generator's Customizable Templates and Editor
The manual editor paired with Receipt Generator's AI tool lets you fine-tune every aspect of your receipt design. If you're aiming for a polished, professional look, this editor gives you the tools to make digital receipts indistinguishable from real ones.
With over 190 templates available, you can replicate receipts from well-known retailers like Walmart, Target, CVS, and even popular restaurants like Starbucks and McDonald's. These templates are designed to mirror real receipt formats, complete with thermal-style fonts and accurate dimensions.
Realism of Output (Physical Appearance)
Receipt Generator's templates are crafted to look like authentic thermal receipts. They use monospace fonts and precise formatting to match the style of traditional printed receipts. You can select standard thermal paper widths - 57mm, 80mm, or 110mm - to ensure the dimensions align with physical receipts. Additional features like scannable barcodes, QR codes, and custom logo uploads (in PNG, JPG, or SVG formats) enhance the realism. The editor automatically resizes logos to fit seamlessly into the design, making the final product look like it came directly from a cash register.
Customization Options (Templates, Fonts, Textures)
This tool gives you control over every detail of your receipt. You can customize the store name, address, phone number, tax ID, and even specific line items with quantities, prices, and payment methods (cash, card, or digital). There’s also an option to add custom notes or disclaimers. The drag-and-drop interface makes it easy to rearrange headers, totals, and other elements. You can tweak font sizes, alignment, and colors to suit your needs, all while maintaining the authentic look of a real receipt.
Ease of Use (Intuitive Tools, User-Friendly Interface)
The editor is straightforward to use. Just input your details, adjust the layout using the live preview, and download the finished receipt. The tool even auto-calculates totals, taxes, and subtotals, saving you time. Best of all, you don’t need to create an account to start designing, making it perfect for quick, one-time projects.
Export Quality (Resolution, Formats)
Receipts are exported as high-resolution PNG images, ensuring sharp and clean visuals. The free version includes a watermark, but upgrading to the Pro plan removes it, giving you a professional, polished receipt. The quality of the output ensures your digital receipt looks just as legitimate as a physical one.
Up next, explore how photo editing apps can add texture and detail, bringing your digital designs even closer to physical authenticity.
3. Add Texture and Shadows with Photo Editing Apps like Photoshop or GIMP
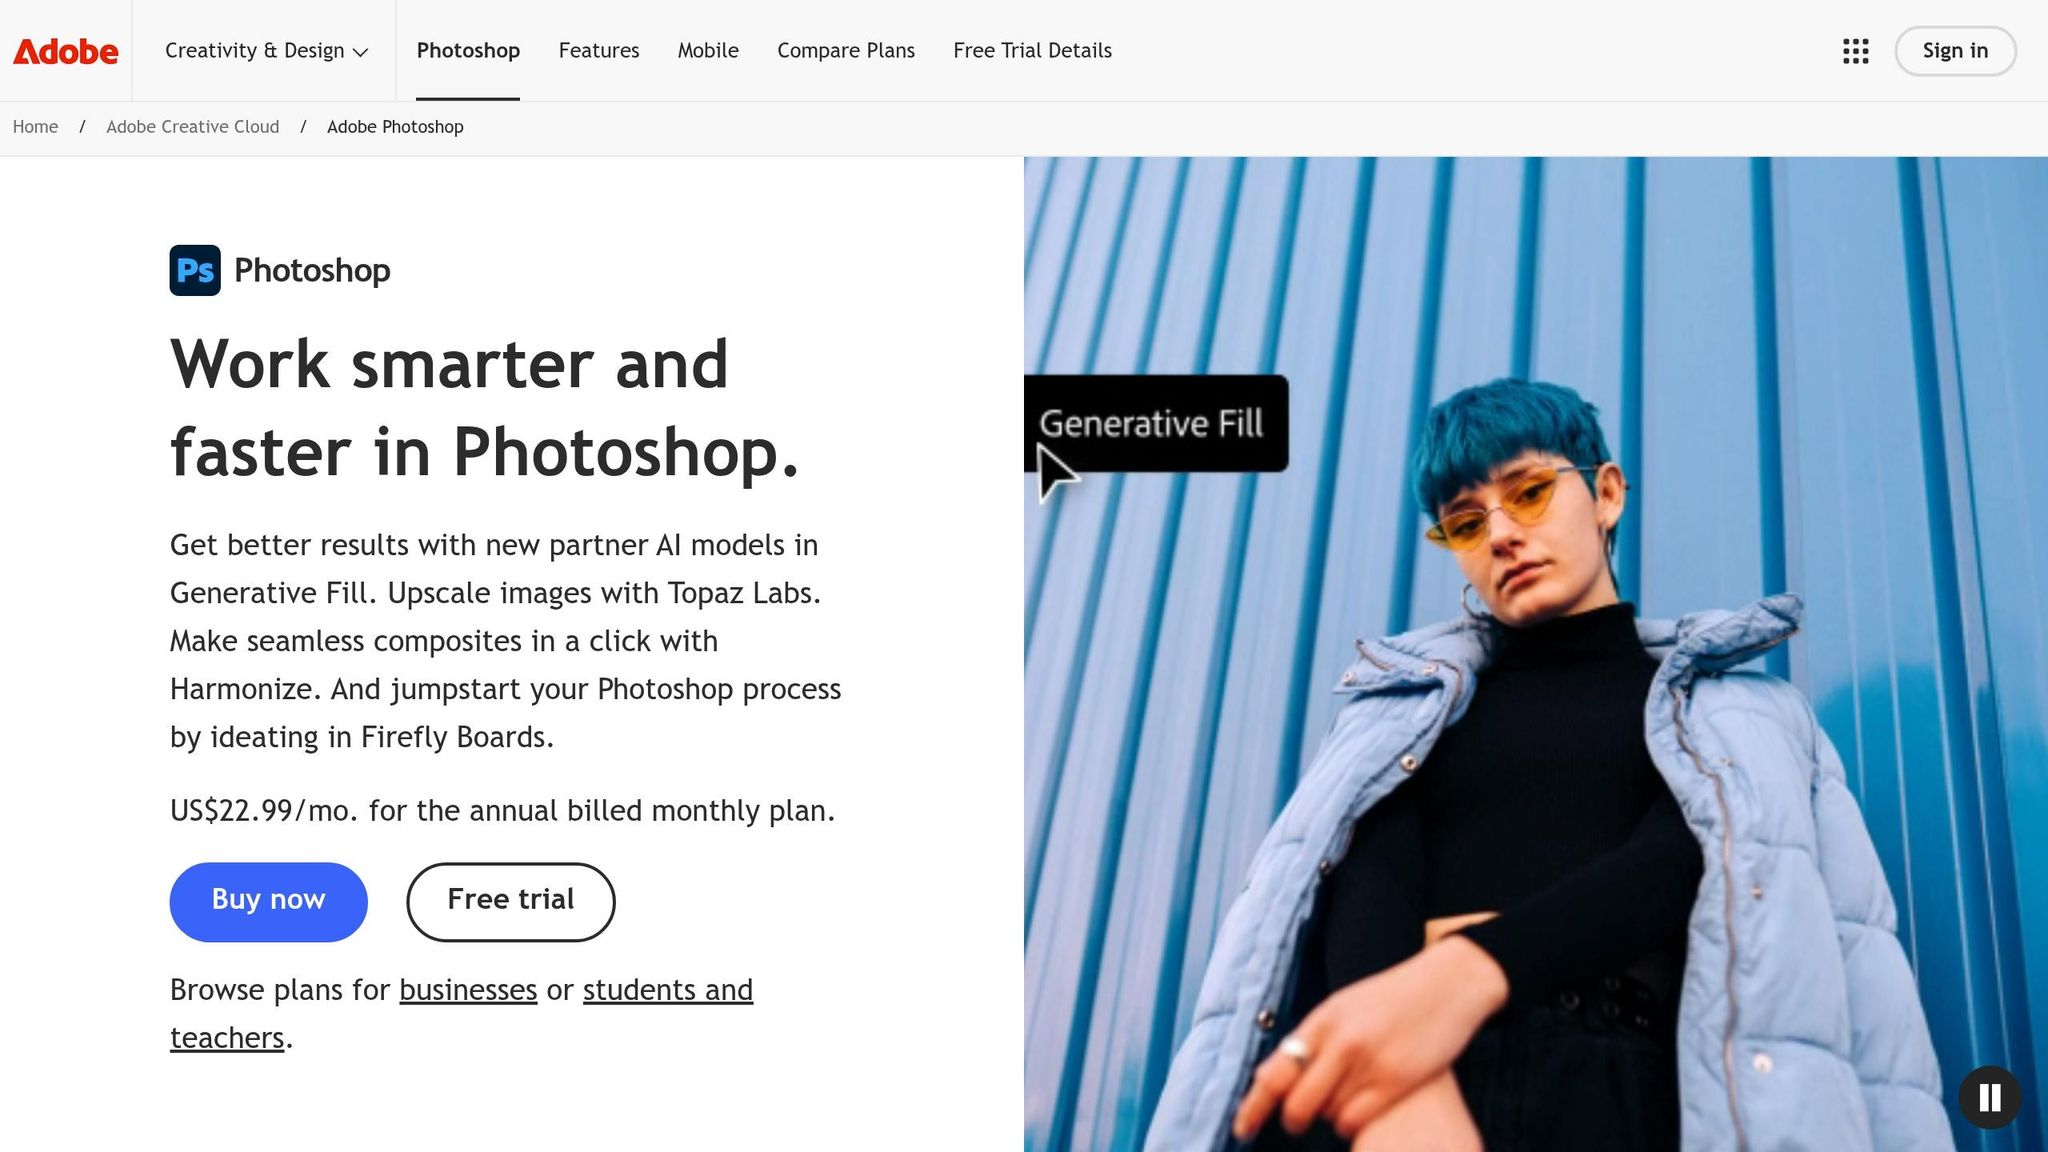
Once you've mastered the basics of digital design, adding texture and shadows can take your work to the next level. Tools like Photoshop and GIMP make it possible to create realistic details that mimic the look of a photographed receipt. These small tweaks - like shadows, textures, and imperfections - help bridge the gap between digital and tangible.
Realism of Output (Physical Appearance)
To make your design feel more lifelike, focus on shadows and textures. When adding shadows, avoid using pure black. Instead, pick a darker shade of your background color. As Fstoppers puts it, "For a more realistic effect, change [the shadow color] to a darker shade of your background color. ... This adds an extra layer of color that helps the shadow blend more naturally." Use a combination of soft, diffused shadows to add depth and sharper contact shadows where the receipt touches the surface to anchor it visually.
For textures, try combining the Noise filter and Emboss filter to replicate the grainy surface of thermal paper. Feathering your selections by about two pixels helps soften edges, avoiding a harsh "cut-out" look. Another trick is to add color bounce, where the background color subtly reflects onto the edges of the receipt, making it appear more integrated with its environment. These small adjustments make your design more cohesive and prepare it for further refinements.
Customization Options (Templates, Fonts, Textures)
Both Photoshop and GIMP allow for full creative control. You can add realistic details like folds, scratches, or wear using textured brushes and layer techniques. The "Blend If" sliders in Photoshop's Layer Styles let you fine-tune how textures interact with light and shadow, whether you're aiming for a matte or glossy finish. Grayscale textures paired with blending modes like Multiply or Overlay can help create subtle color effects. These tools give you the flexibility to make your receipt design look as polished - or worn - as you want.
Ease of Use (Intuitive Tools, User-Friendly Interface)
While Photoshop and GIMP do come with a learning curve, the results are worth it. For instance, converting your receipt layer into a Smart Object before applying filters allows you to use Smart Filters, which are editable and reversible. Graphic designer Stephen G. Petrany emphasizes that "Creating high-quality textures for art or design doesn't require the talent of an artisan painter. All it takes is a little understanding of Photoshop and knowledge of the tools." GIMP offers similar functionality for free, making professional-level results accessible to everyone.
Export Quality (Resolution, Formats)
When your design is ready, export it as a PNG to maintain lossless quality. This ensures that elements like text, barcodes, or QR codes remain sharp and scannable. For professional mockups, aim for a resolution of around 2,100x1,500 pixels to ensure clarity on high-resolution displays. If your receipt includes sensitive information, remember to mask all but the last five digits of any card number, as required by federal law. Finally, keep your canvas size aligned with standard thermal paper widths (57mm, 80mm, or 110mm) for a realistic look.
Next, we'll dive into how Canva's templates can simplify receipt design while maintaining a polished aesthetic.
4. Use Canva's Receipt Templates with Custom Styling
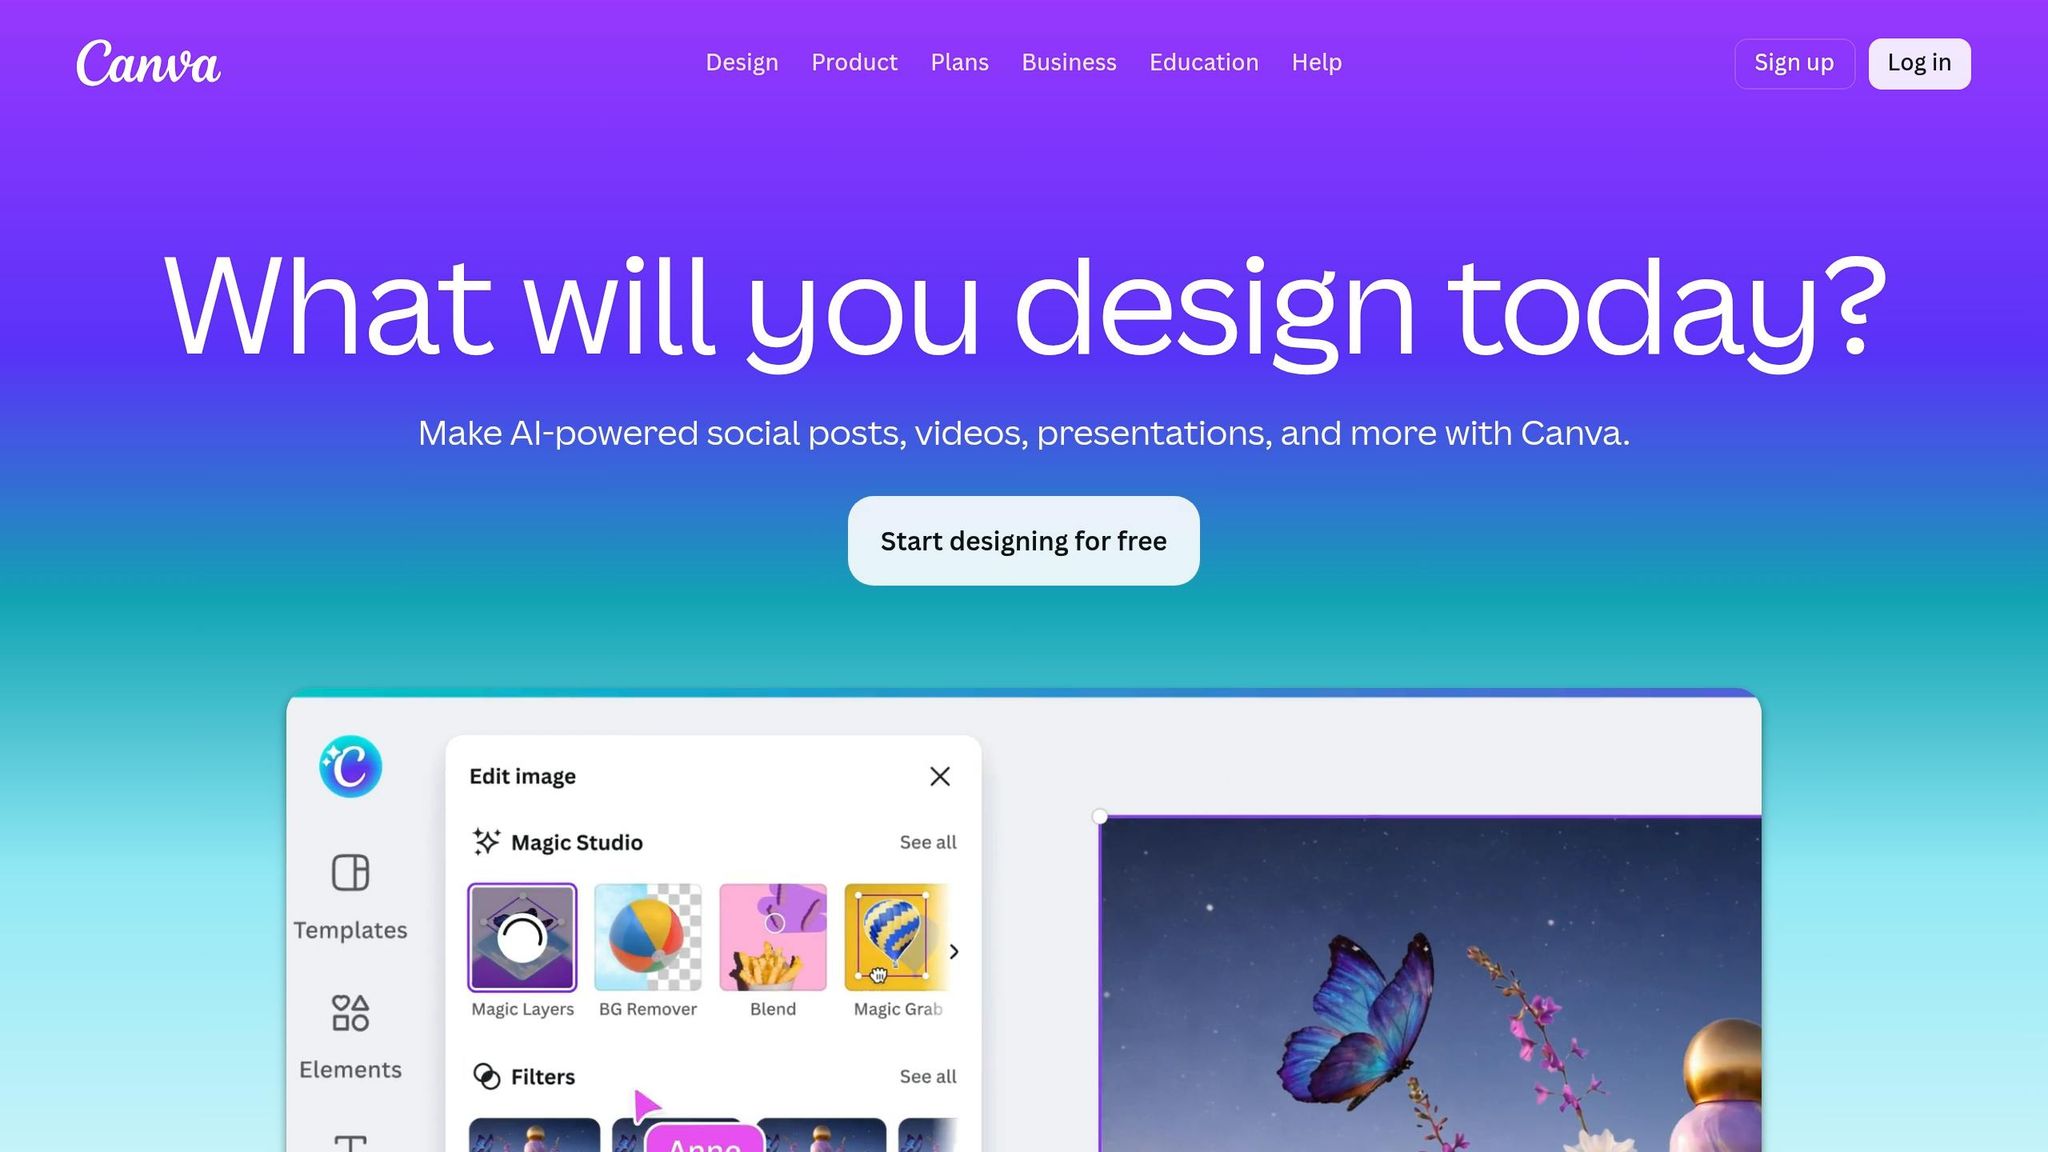
For anyone prioritizing both design and functionality, Canva offers free receipt templates that can be customized to achieve a professional and authentic look. With the digital receipt market expected to hit $293 billion by 2030, having polished and credible receipt designs is becoming increasingly important for businesses.
Unlike AI-generated receipt methods, Canva puts the power in your hands, letting you manually craft designs that align perfectly with your brand identity.
Realism of Output (Physical Appearance)
To make your Canva receipts feel more like the real deal, pay close attention to the finer details. Choose fonts that resemble traditional cash register outputs, such as OCR-A, Epson-style, or Courier fonts. You can also add elements like barcodes, QR codes, and detailed itemized lists with quantities and SKUs to replicate the format of a typical store receipt. Don’t forget to include a footer with a short return policy or a "Thank You" message, as these are common in retail receipts. And if you’re including payment details, federal law mandates masking all but the last five digits of a card number and leaving out expiration dates.
Customization Options (Templates, Fonts, Textures)
Canva's Brand Kit feature is a game-changer for maintaining consistency across your receipt designs. You can save and reuse logos, color schemes, and fonts to ensure every receipt aligns with your branding. From adding your business logo and contact information to tweaking headers and subtotals, the drag-and-drop functionality makes it easy to personalize receipts. Replace placeholder text with realistic store names, item descriptions, and prices for a polished look. Canva Pro users also have the advantage of uploading up to 500 custom fonts, giving you full control over typography.
Ease of Use (Intuitive Tools, User-Friendly Interface)
Canva’s receipt templates are straightforward, but they do require some manual effort. Instead of just filling out a pre-made form, you’ll make design decisions like choosing layouts, fonts, and colors. This flexibility is perfect for businesses that want their receipts to reflect their brand identity. Plus, Canva’s collaboration tools allow team members to review and suggest edits before finalizing the design.
Export Quality (Resolution, Formats)
| Export Format | Resolution/Quality | Use Case |
|---|---|---|
| PDF Print | 300 dpi | For professional physical printing |
| PDF Standard | 96 dpi | Ideal for digital delivery and email |
| PNG | Up to 3x Scale | High-quality graphics for the web |
| JPG | Adjustable | Small file sizes for quick sharing |
For digital receipts, the PDF Standard format at 96 dpi works well. If you’re printing physical copies, go with PDF Print at 300 dpi and enable "Crop Marks and Bleed" for a polished, professional finish. PNG files with transparent backgrounds are great for overlaying receipts on branded materials. Canva Pro users can also switch from RGB to CMYK color profiles to ensure accurate colors in printed designs.
Next, we'll dive into how AI image generators can create realistic receipt mockups displayed on actual surfaces.
5. Create Receipt Mockups on Surfaces with AI Image Generators
This method takes digital tools to the next level by adding a touch of contextual realism. AI image generators can craft receipt mockups that appear to be placed on various surfaces. Advanced models like Flux 1.1 Pro and Flux 2 are particularly adept at this, as they excel in rendering sharp, legible text and ultra-realistic textures.
Realism of Output (Physical Appearance)
This approach focuses heavily on capturing lifelike details in texture and lighting. The realism lies in the small details - like creases, stains, or fading - that mimic real-world wear and tear. By specifying environmental and camera details such as "reflective white marble surface, shot on Canon EOS R5 85mm f/1.4 with soft window light", you can achieve authentic shadows and a sense of depth.
Customization Options (Templates, Fonts, Textures)
Just like manual editing tools, these AI generators allow for precise customization to replicate real receipts. They provide templates tailored to specific industries, including retail, restaurants, gas stations, medical services, and grocery stores. You can also use authentic receipt fonts and modular content blocks to arrange headers, itemized lists, taxes, and barcodes. For branding, you can generate the receipt layout and then upload a specific logo using manual editing tools.
Ease of Use (Intuitive Tools, User-Friendly Interface)
AI-powered tools make adjustments incredibly simple with conversational commands like "add barcode" or "adjust tax rate." They also handle calculations and formatting seamlessly when you describe the math - like subtotal, tax, or tip - in plain language.
Export Quality (Resolution, Formats)
Modern AI models can produce receipt mockups in resolutions as high as 8K. The generated receipts are available in various formats, including PDF, PNG, and JPG, ensuring clarity and scannability. Some tools even offer editable formats like Word (DOCX) for manual tweaks or Excel (XLSX) for accounting purposes. These high-quality mockups ensure that your digital receipts look professional, whether displayed on a screen or printed out.
Conclusion
Creating realistic receipt images digitally has never been easier. The five methods discussed cater to a variety of needs, depending on your priorities. For instance, template-based tools like Receipt Generator allow you to produce a receipt in under a minute by simply filling out a form. These templates often replicate well-known U.S. retailers, making the process quick and straightforward.
AI-powered tools take convenience a step further by letting you describe the receipt you need in plain language, skipping manual data entry entirely. On the other hand, software like Photoshop or GIMP provides unmatched creative control, while Canva strikes a balance with its user-friendly drag-and-drop interface, ideal for creating branded receipts. If you need receipts for contextual mockups, AI image generators are excellent for producing high-quality visuals with realistic textures and lighting - perfect for app demos or visual presentations.
Each method is tailored to different goals, whether you value speed, customization, or branding. For example, template generators process over 5,400 receipts daily and boast a 4.8/5.0 rating from more than 3,000 users. AI mockup tools deliver high-resolution images with authentic lighting and shadows. For businesses, customizable editors allow you to upload logos, tweak fonts, and ensure the receipts align with your brand identity. These tools collectively address everything from rapid production to intricate design needs.
No matter which approach you choose, these tools consistently produce polished results. Most offer professional PDF or PNG exports, ensuring your receipts look clean and professional whether displayed digitally or printed. Plus, many are browser-based and mobile-friendly, making it easy to create receipts on the go without needing to install extra software.
Digital receipt generation is a powerful solution for both personal and professional use, offering efficiency and flexibility without compromising on quality.
FAQs
How can I make a digital receipt look like it was photographed on a real surface?
To give a digital receipt the appearance of being photographed on a real surface, you can add a realistic paper texture. Here's how:
- Start by downloading a paper texture, such as white or grunge paper, from free online resources.
- Using photo editing software, overlay the receipt onto the chosen texture. Adjust the blending modes, and consider adding shadows or subtle wear effects to enhance the realism.
This approach helps create a more convincing and lifelike result.
What export settings keep receipt text, barcodes, and QR codes sharp and scannable?
To keep receipt text, barcodes, and QR codes sharp and easy to scan, make sure to export them with high-resolution settings - 240 x 240 pixels at 72 DPI works well. Stick to formats like PNG or PDF, as they do a better job of preserving clarity. For optimal results, use tools that provide customizable templates and allow for high-quality exports. Formats like vector-based PDFs or high-resolution PNGs are your best bet for maintaining sharpness.
What information should I hide or mask on a receipt image for privacy and compliance?
When designing a digital receipt image, it's crucial to conceal sensitive information to safeguard privacy and comply with data protection standards. Key details to hide include:
- Full names: This applies to both customer and employee names.
- Address information: Whether it's the store's location or the customer's address, keep it private.
- Payment details: Mask card numbers, account numbers, or any related payment data.
- Barcodes or QR codes: If they contain personal data, ensure they’re obscured.
- Transaction IDs or unique identifiers: These can be used to trace or misuse information.
By masking this information, you reduce the risk of privacy breaches and potential misuse.